How to enable the discount table on the product page
How to Enable Discount Table on Product Page
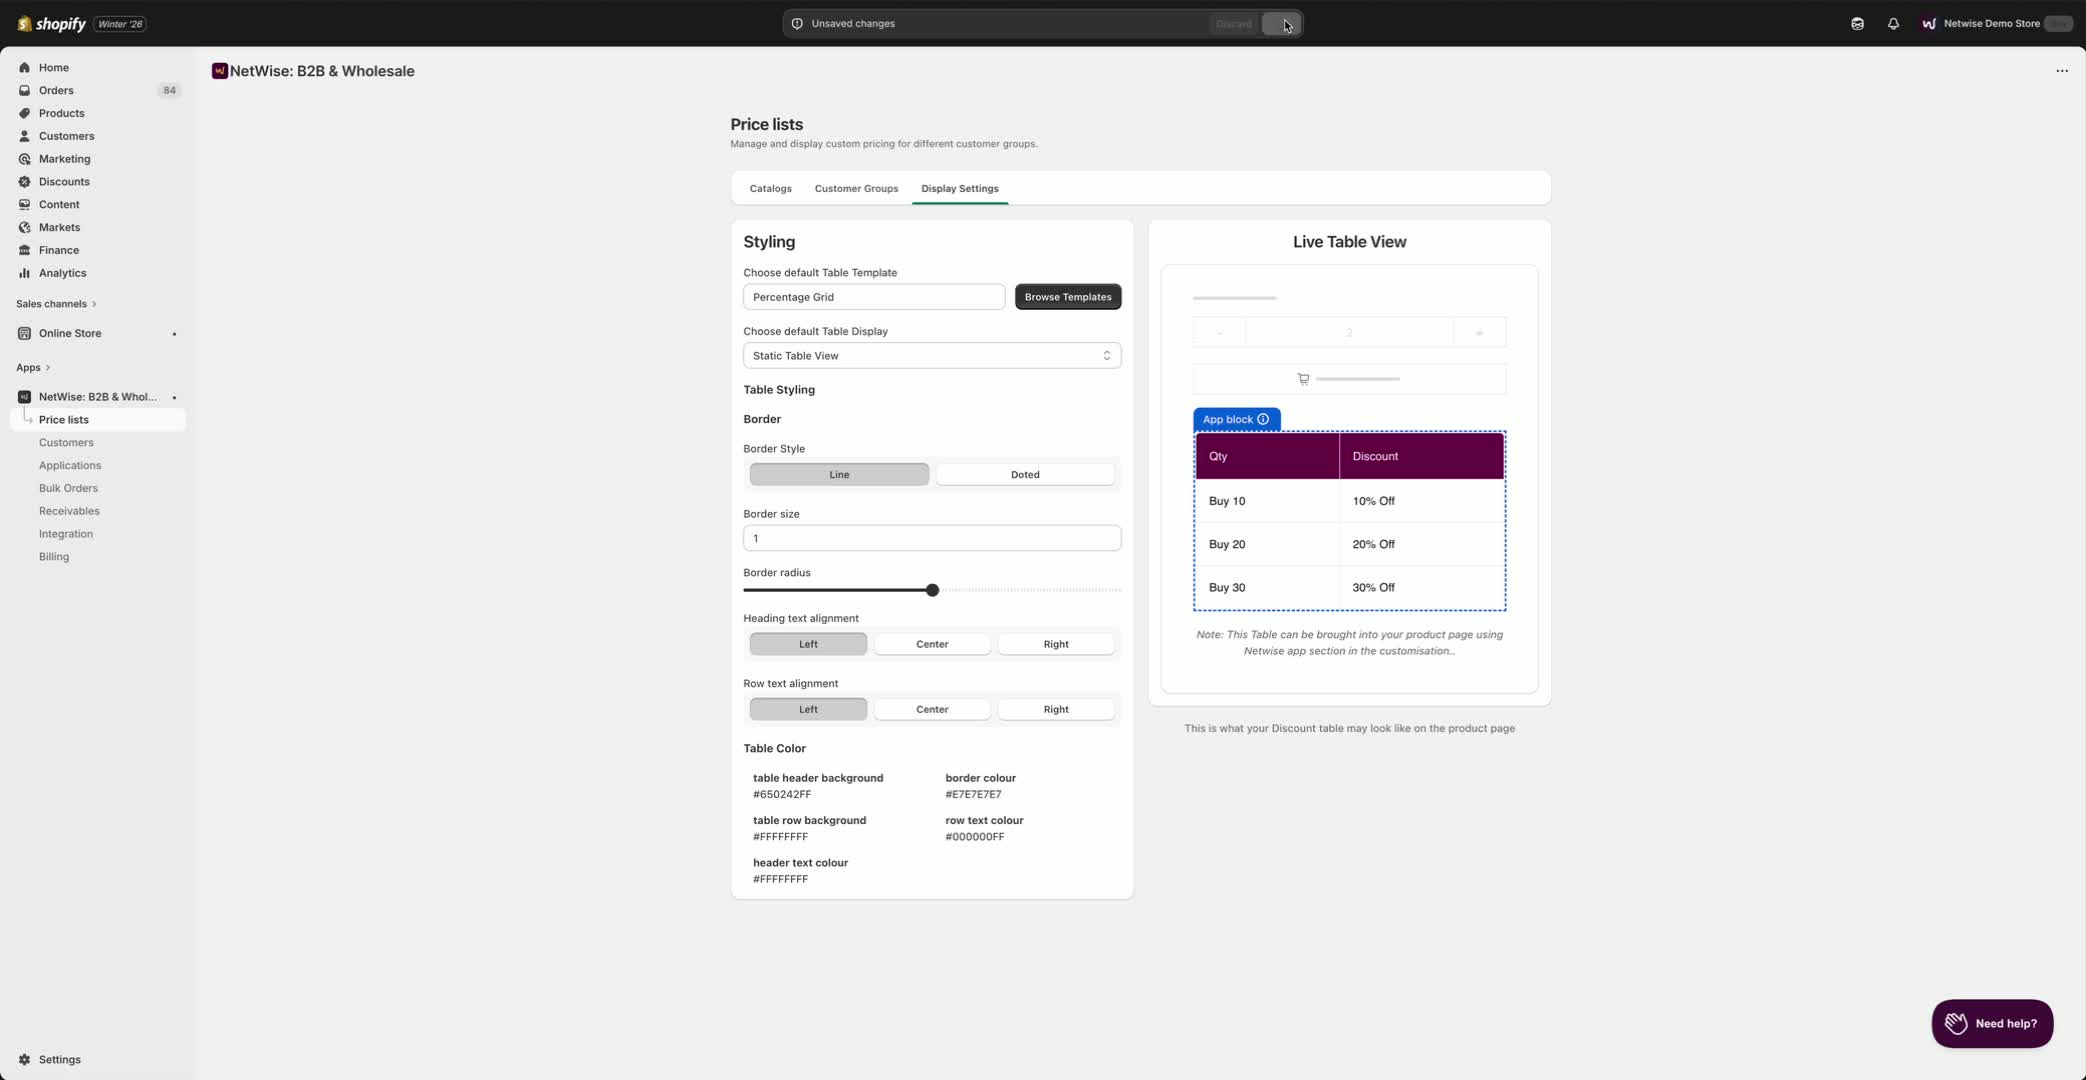
Step 1: Access Price List
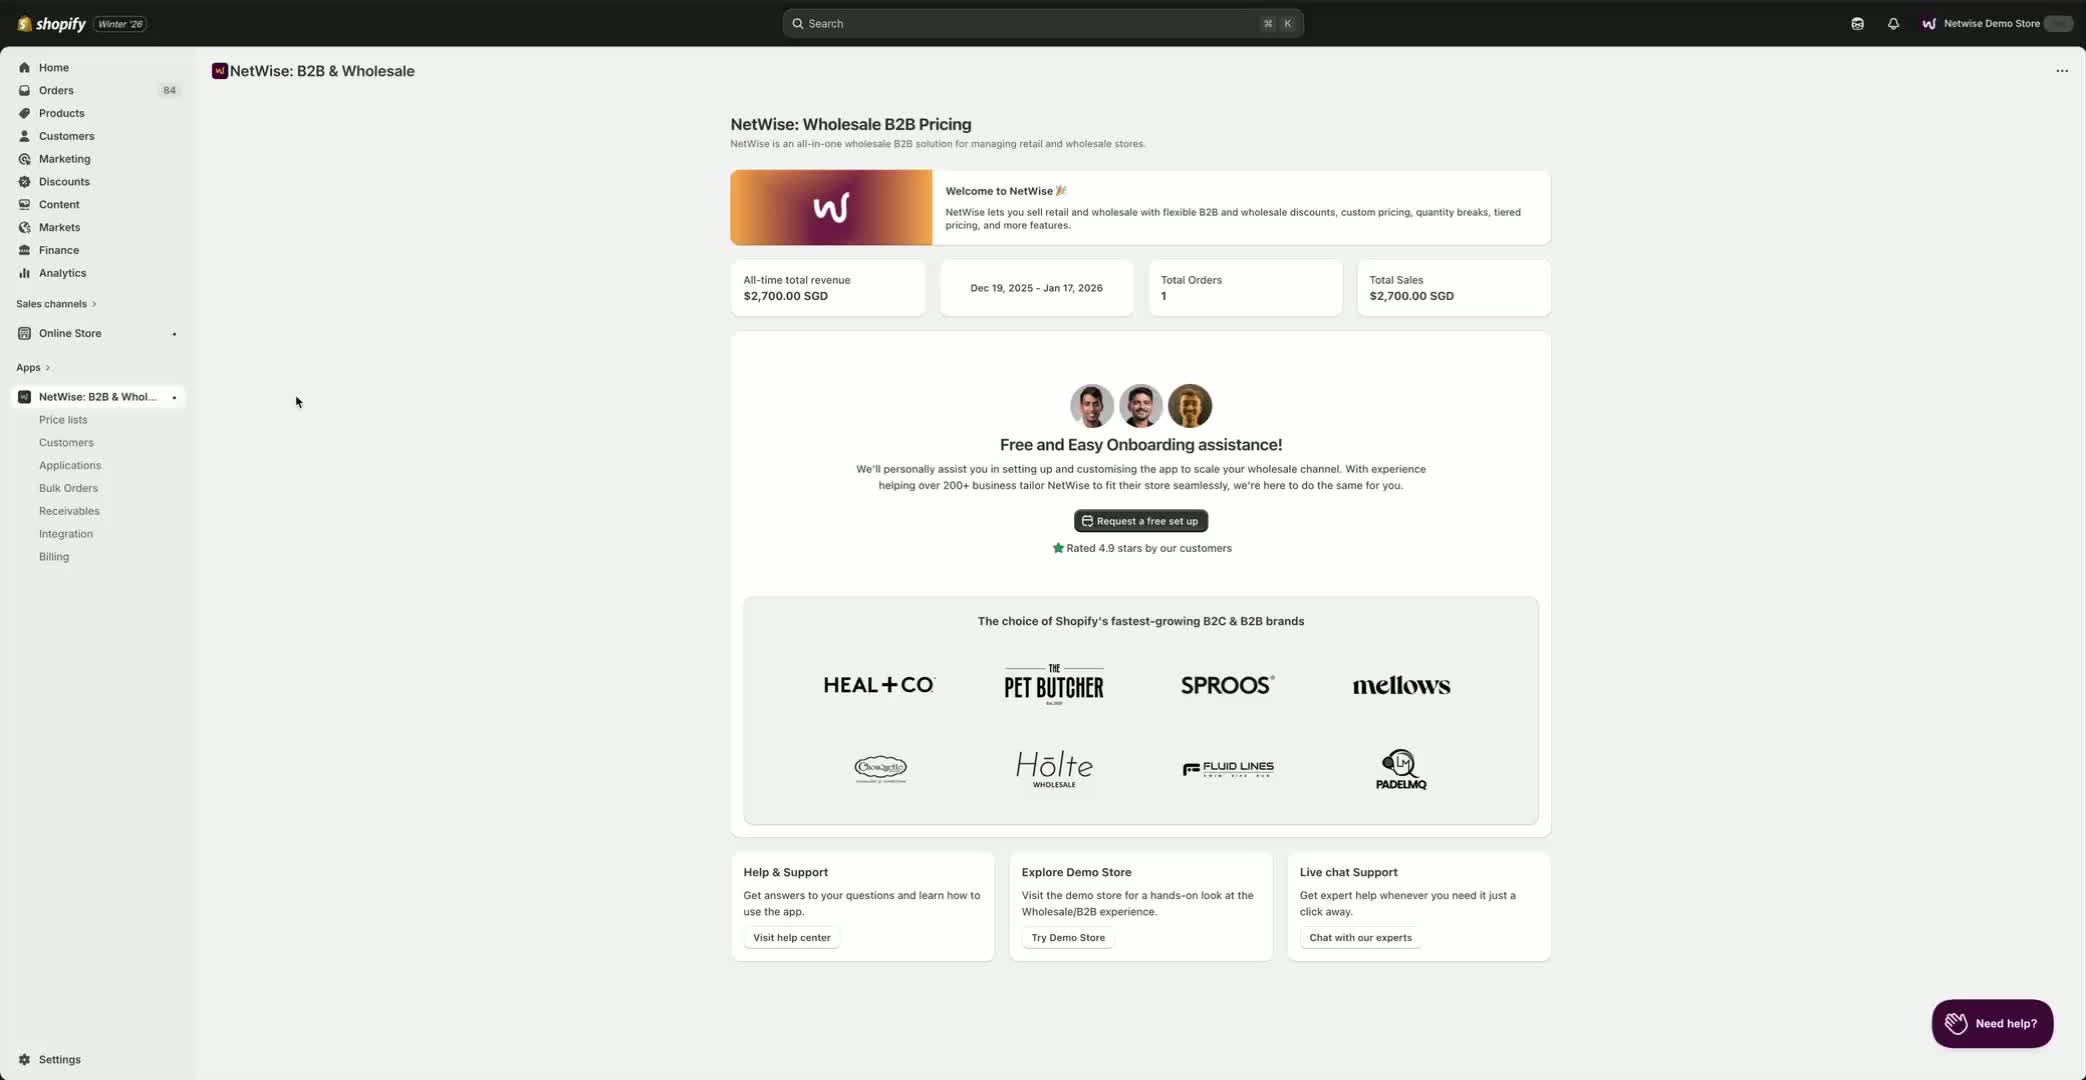
Open the app and navigate to the Price List section.
Click on the Display Settings tab.
Step 2: Choose Discount Table Template
Select a template for the discount table from the available options (6 templates).
Choose the one that enhances customer experience.
Click Save.
Step 3: Configure Table Display Settings
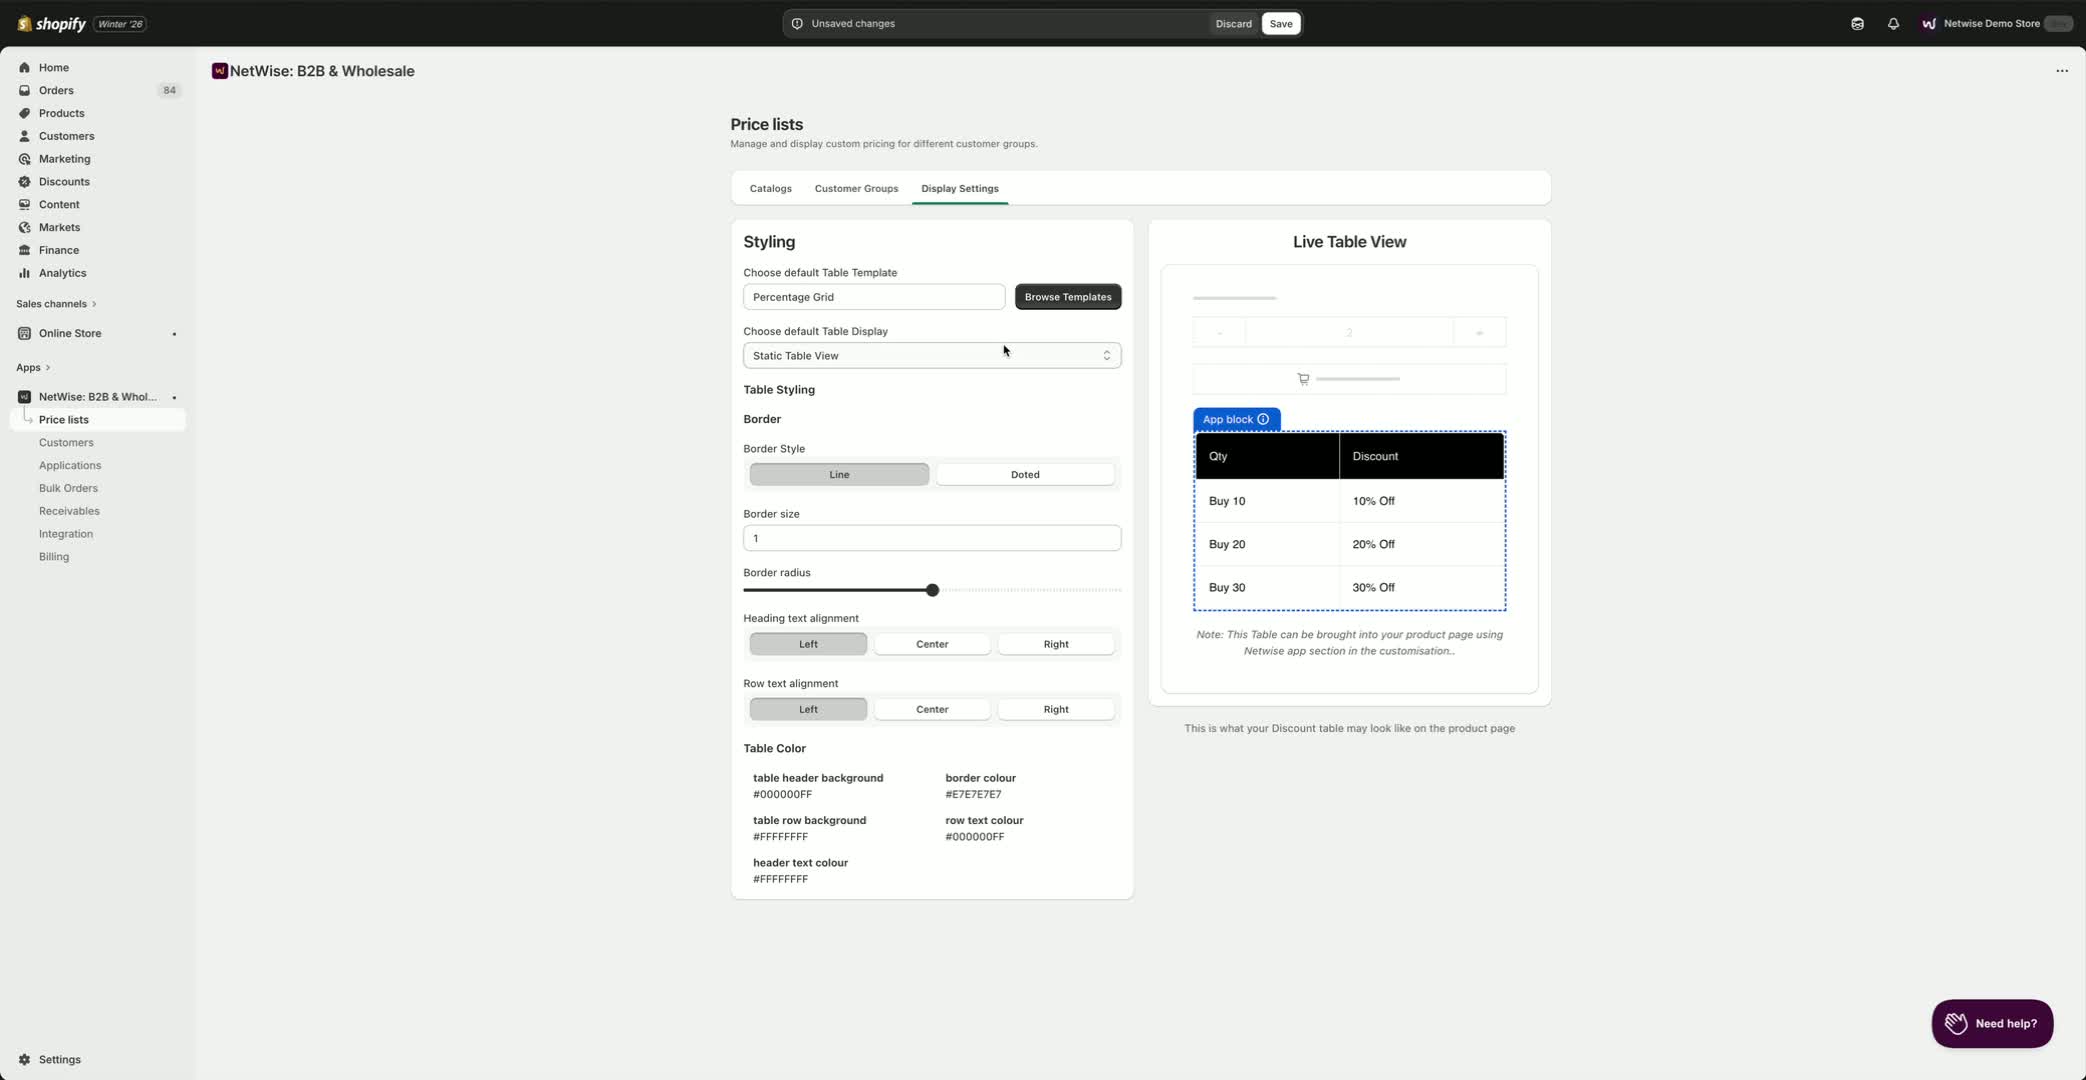
Set the table display to Static Table View.
Choose the line style (solid or dotted) for borders.
Adjust border size and radius as desired.
Set text alignment.
Step 4: Add Branding Color
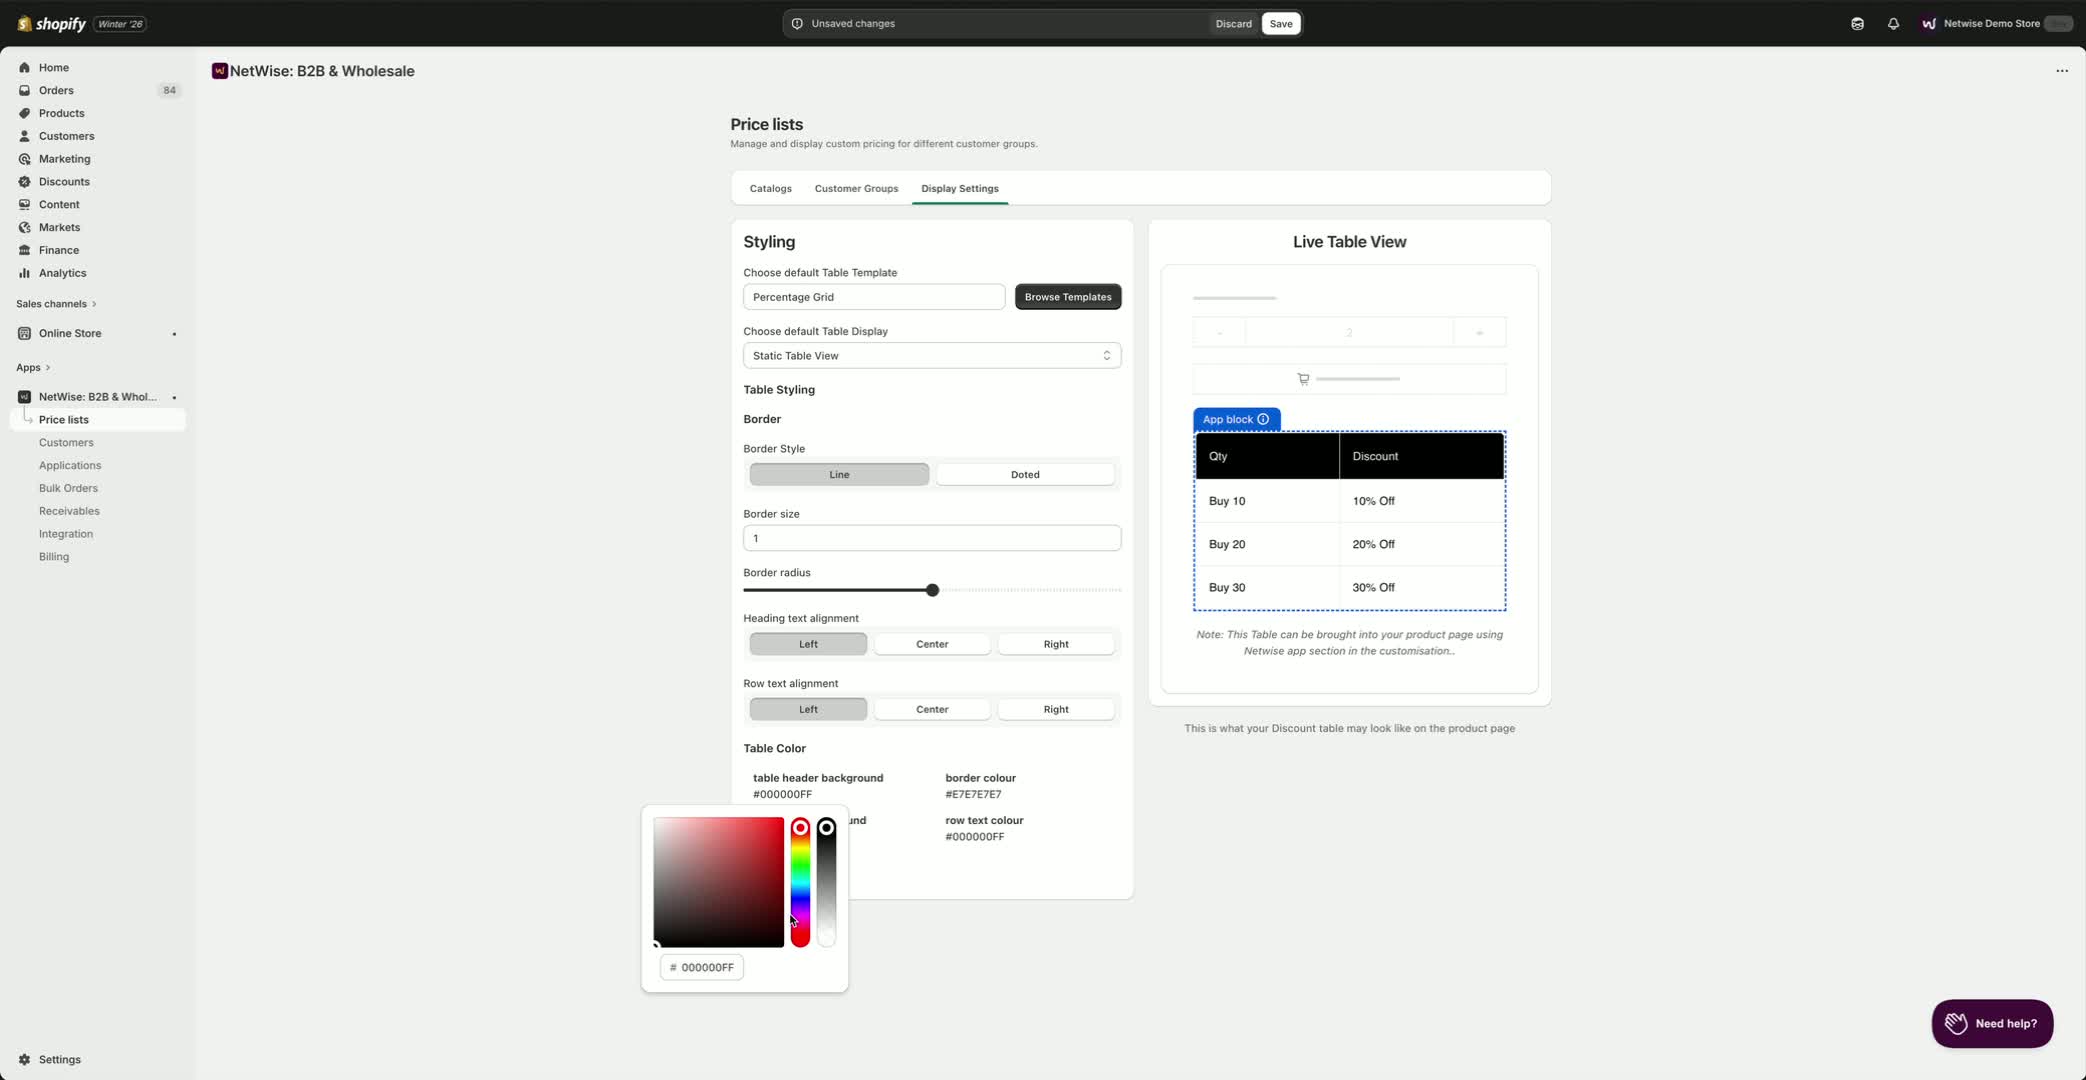
Optionally, add a branding color to the discount table.
Adjust other color options as needed.
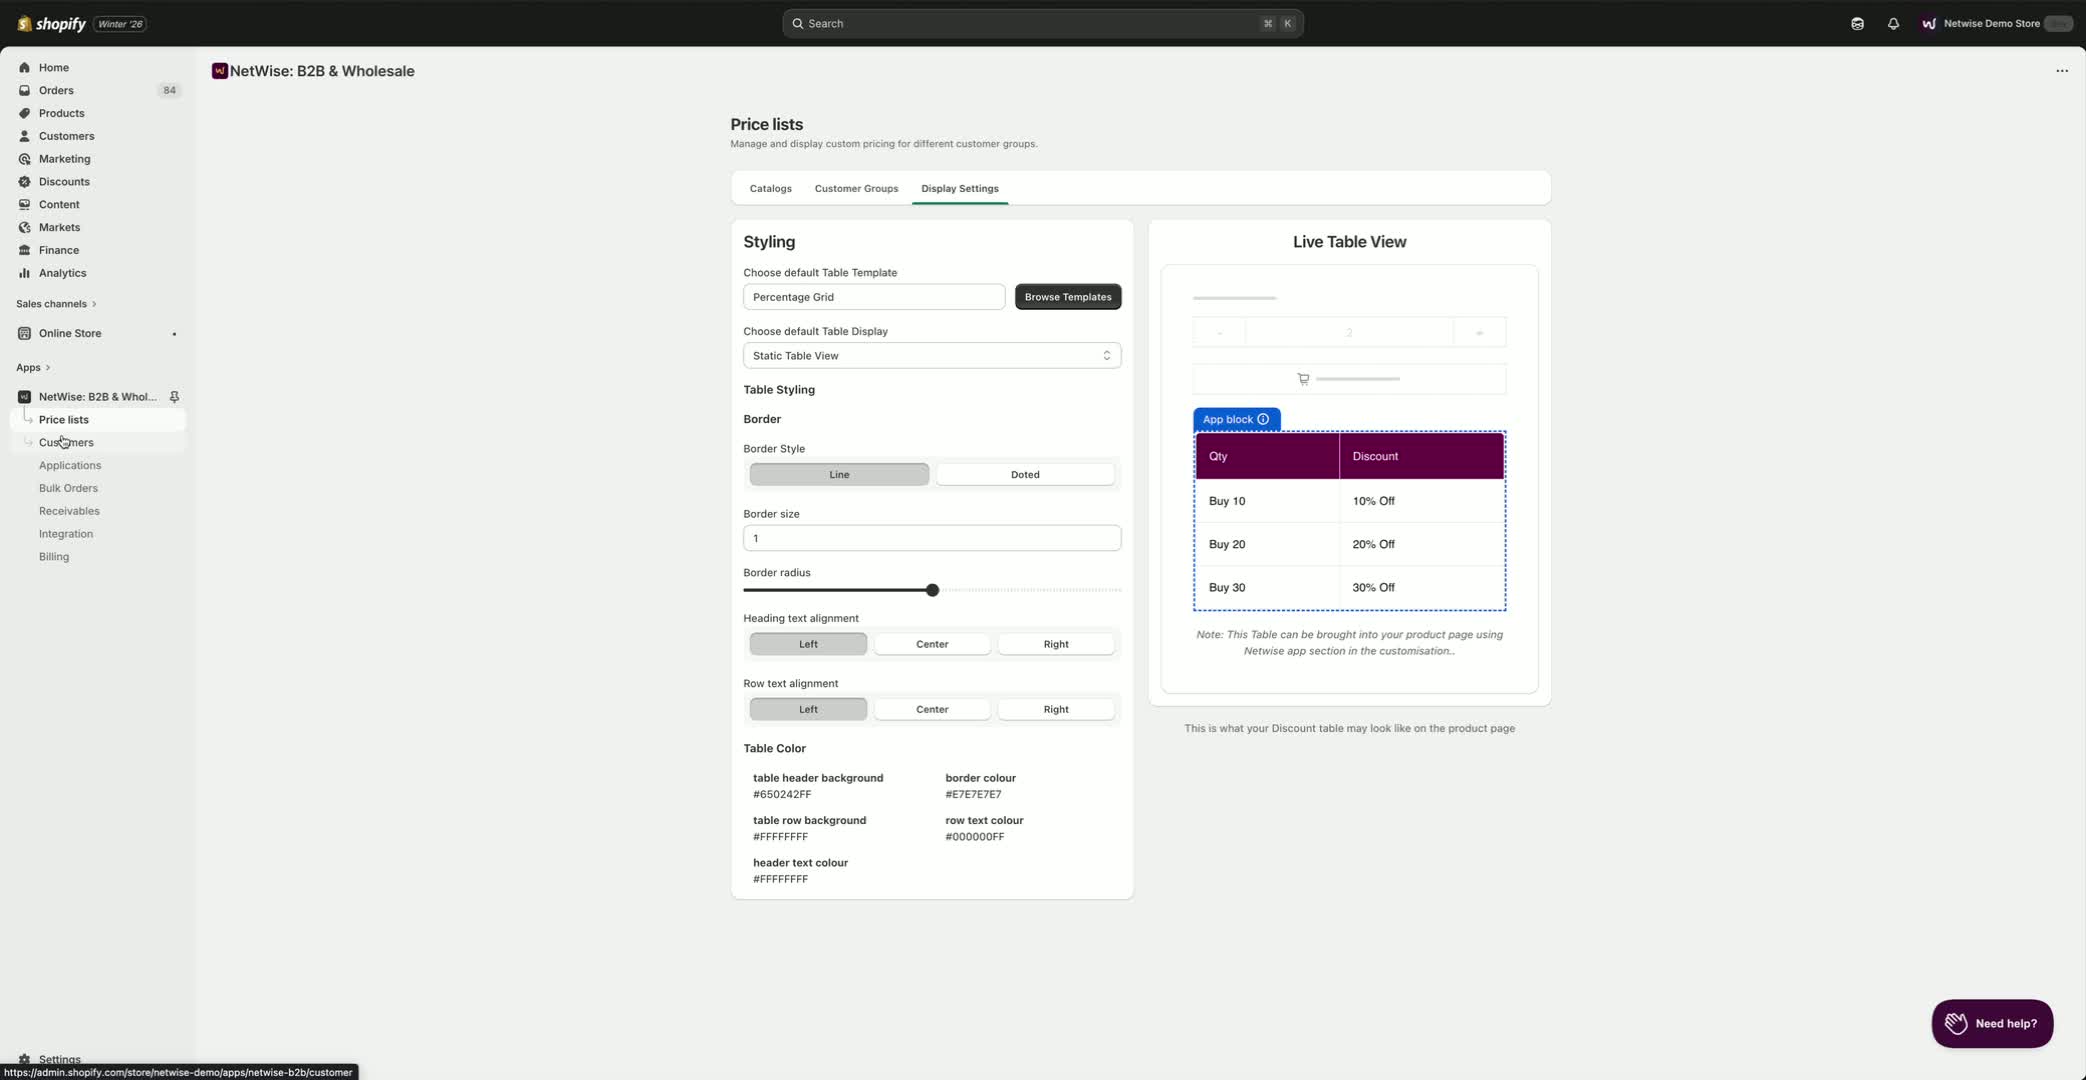
Step 5: Save Display Settings
After configuring all settings, click Save.
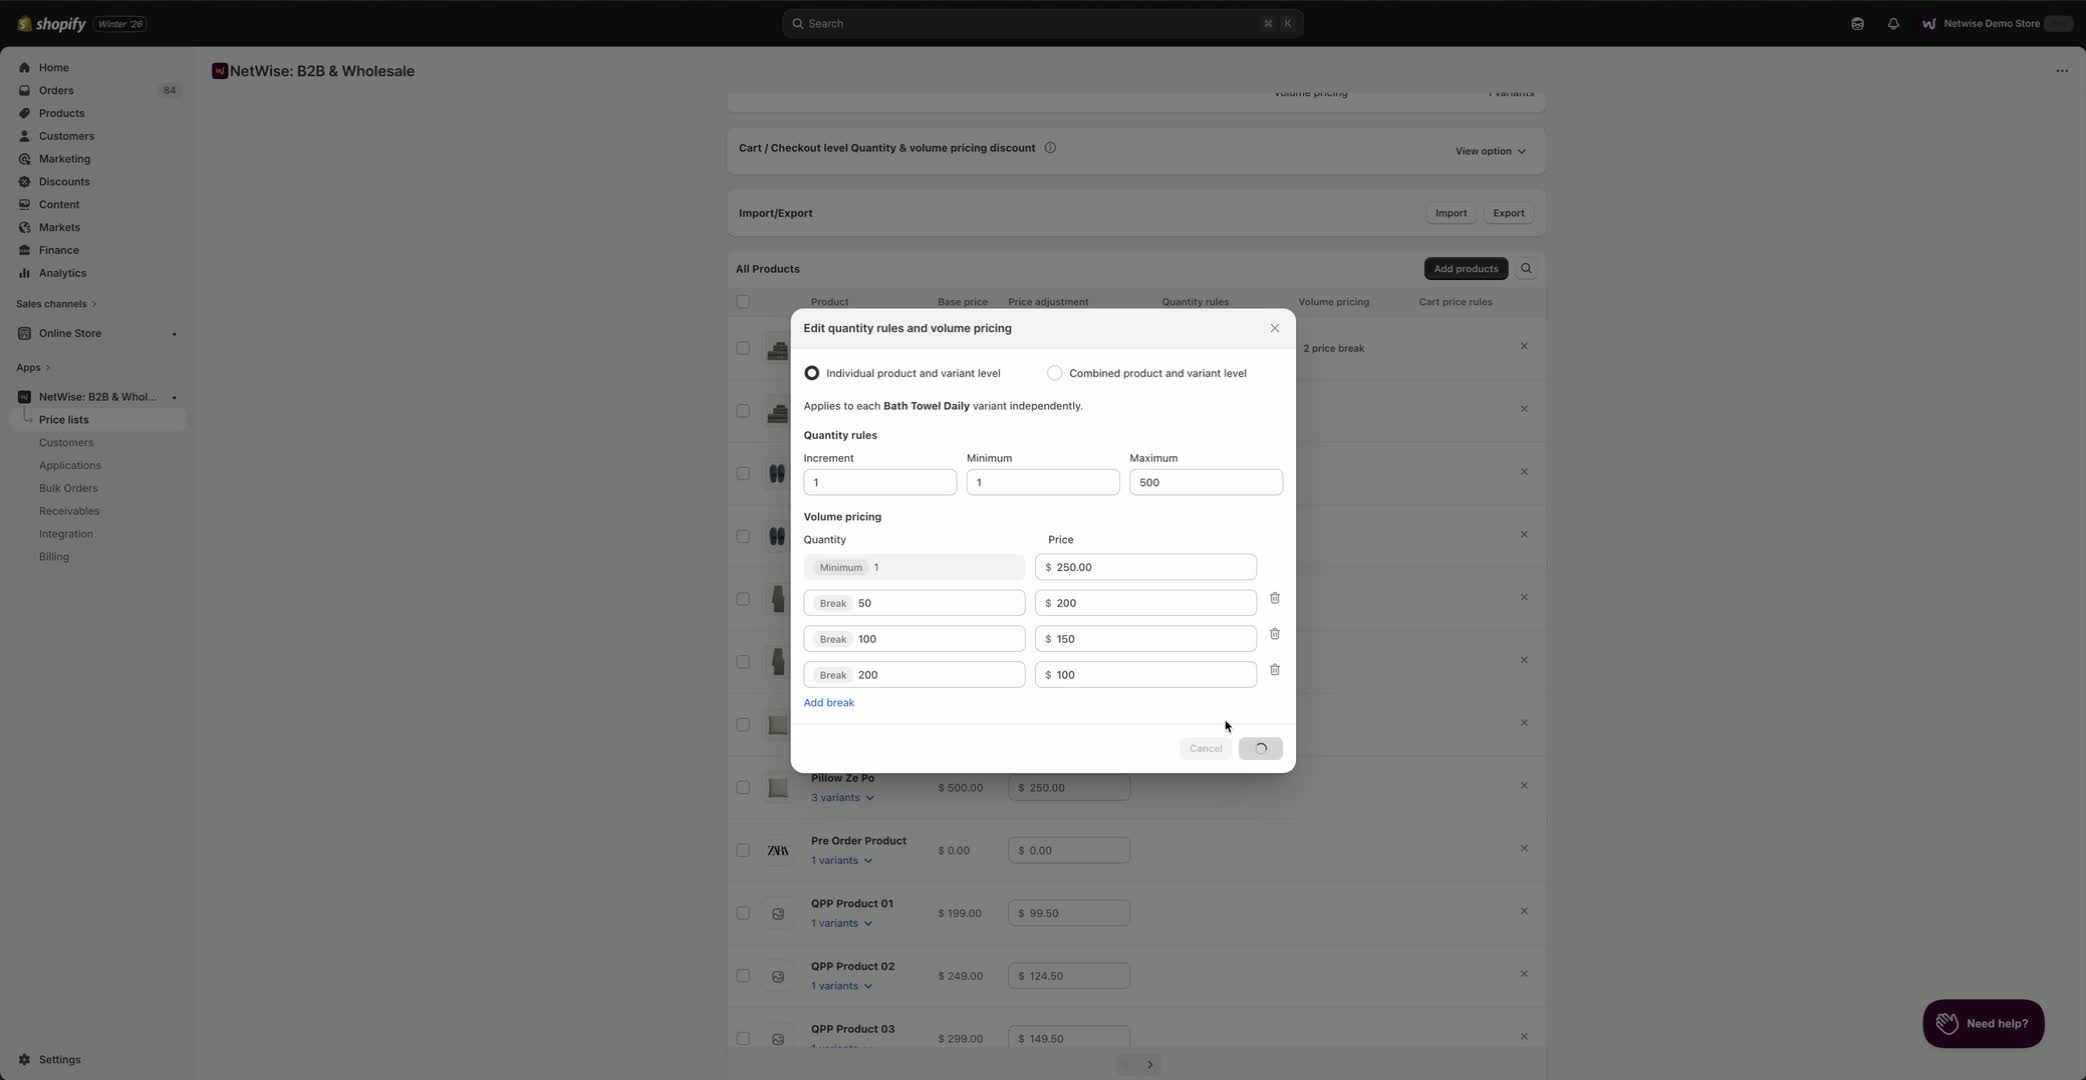
Step 6: Set Up Price Breaks in Catalog
Return to the Price List and navigate to the Catalog.
Select the catalog where you want to set the discount (e.g., Wholesale 50).
Add quantity breakups for pricing (e.g., 1 unit at $250, 50 units at $200).
Click Add Quantity to save each pricing tier.
Step 7: Export/Import Options
If needed, export the entire product list as a CSV for bulk updates.
You can also import the CSV back into the app.
Step 8: Edit Live Team Settings
Go to Online Store and select your live team.
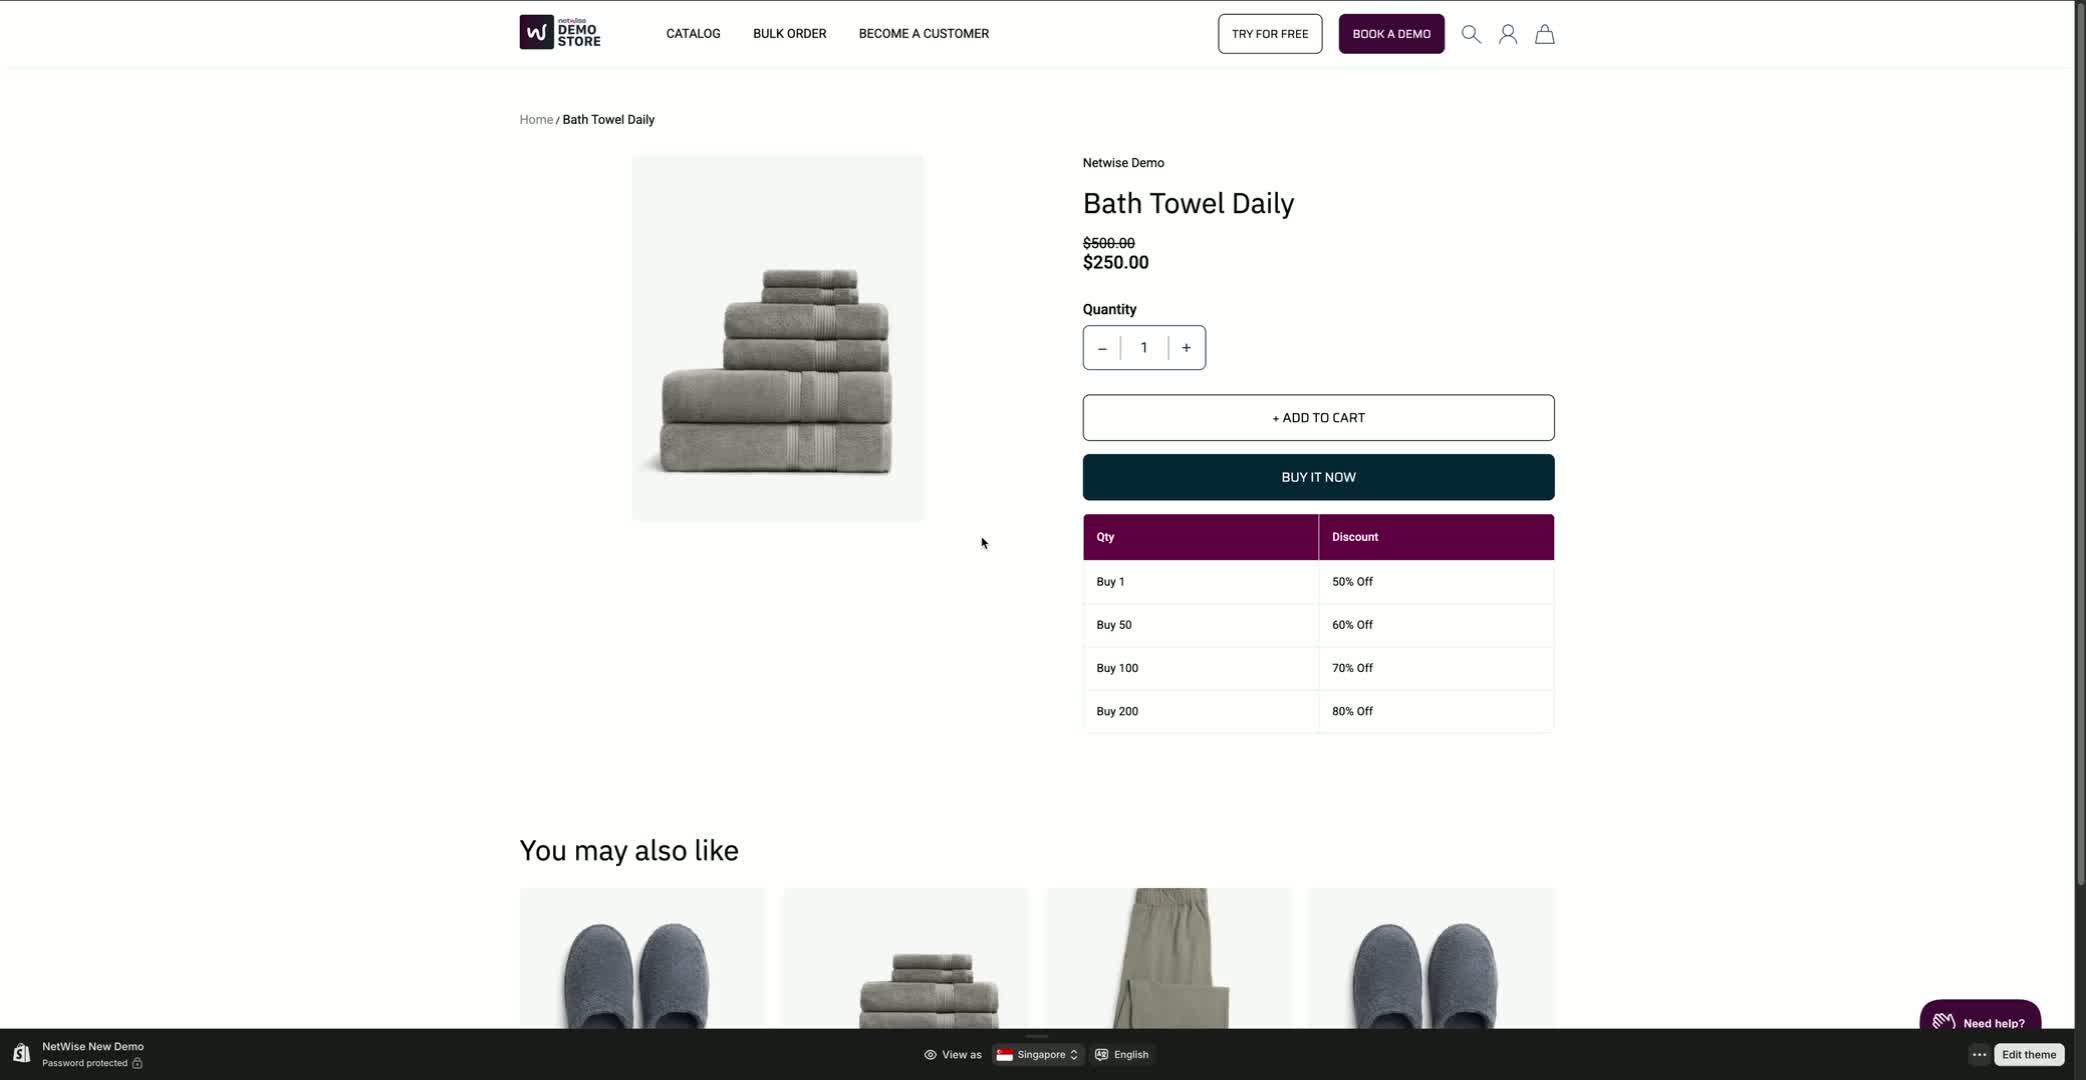
Choose a product to edit and decide where to place the discount table (e.g., below the buy button).
Step 9: Add Discount Table to Product Page

Hover over the buy button and click the plus button to add a new element.
Select Apps and then choose your discount table app.
Save the changes.
Step 10: Test the Discount Table
Log in to your testing account and ensure you are assigned to the correct catalog.
Refresh the store page and navigate to the product to verify the discount table is displayed.
Step 11: Troubleshooting