How to enable Net Terms on your store
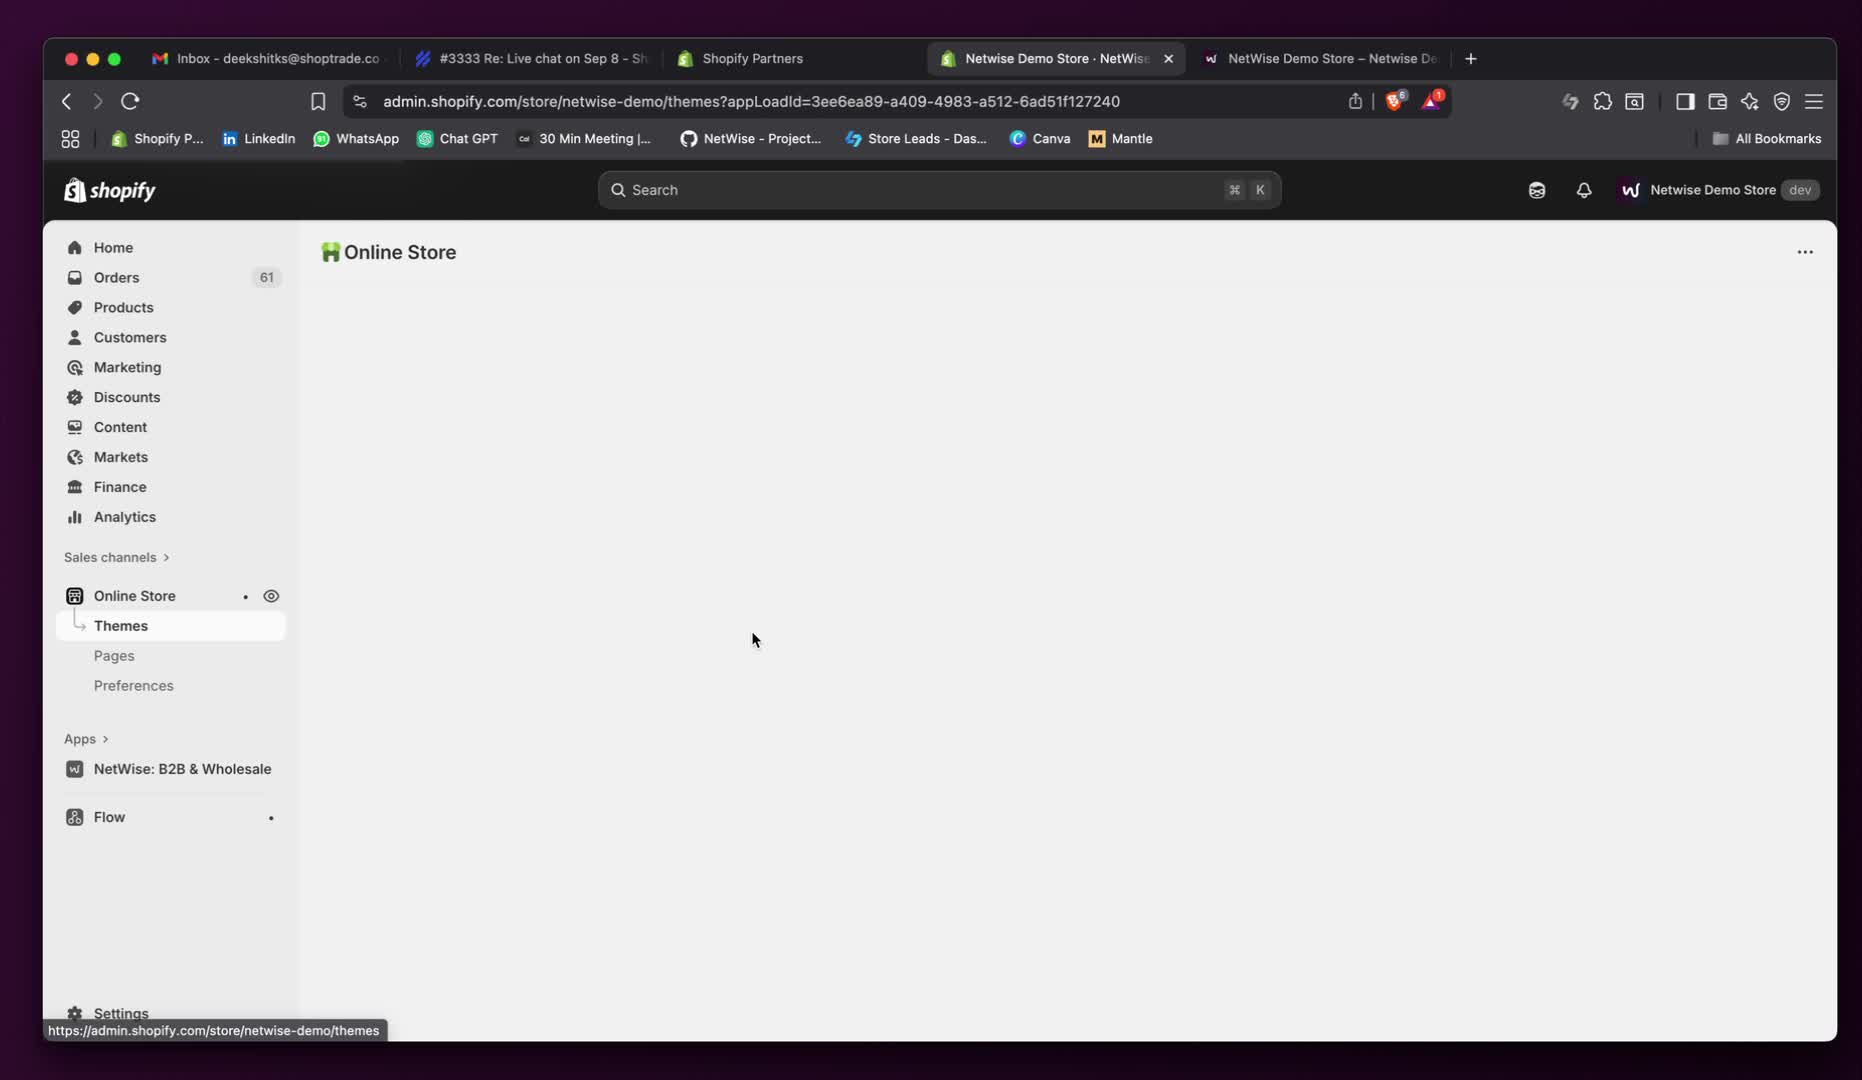
Step 1: Access Your Online Store
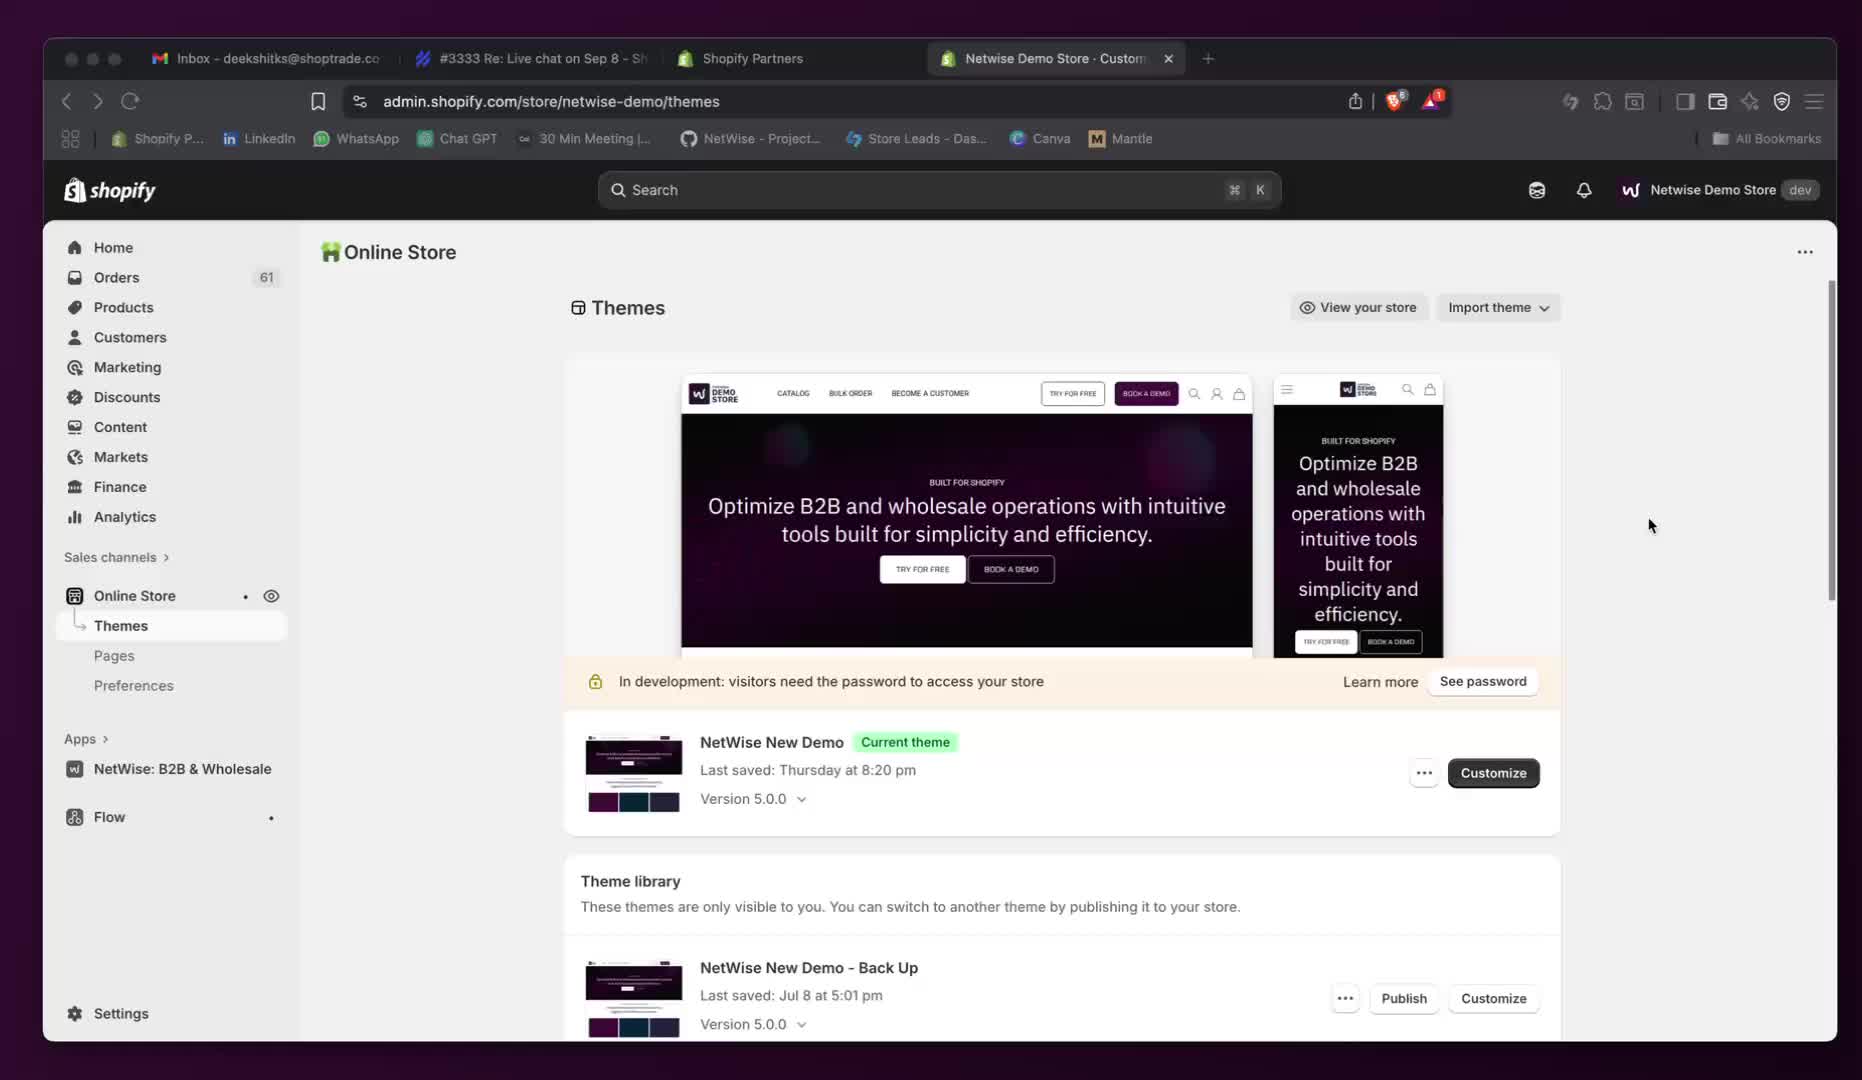
Go to your store's dashboard.
Click on 'Online Store'.
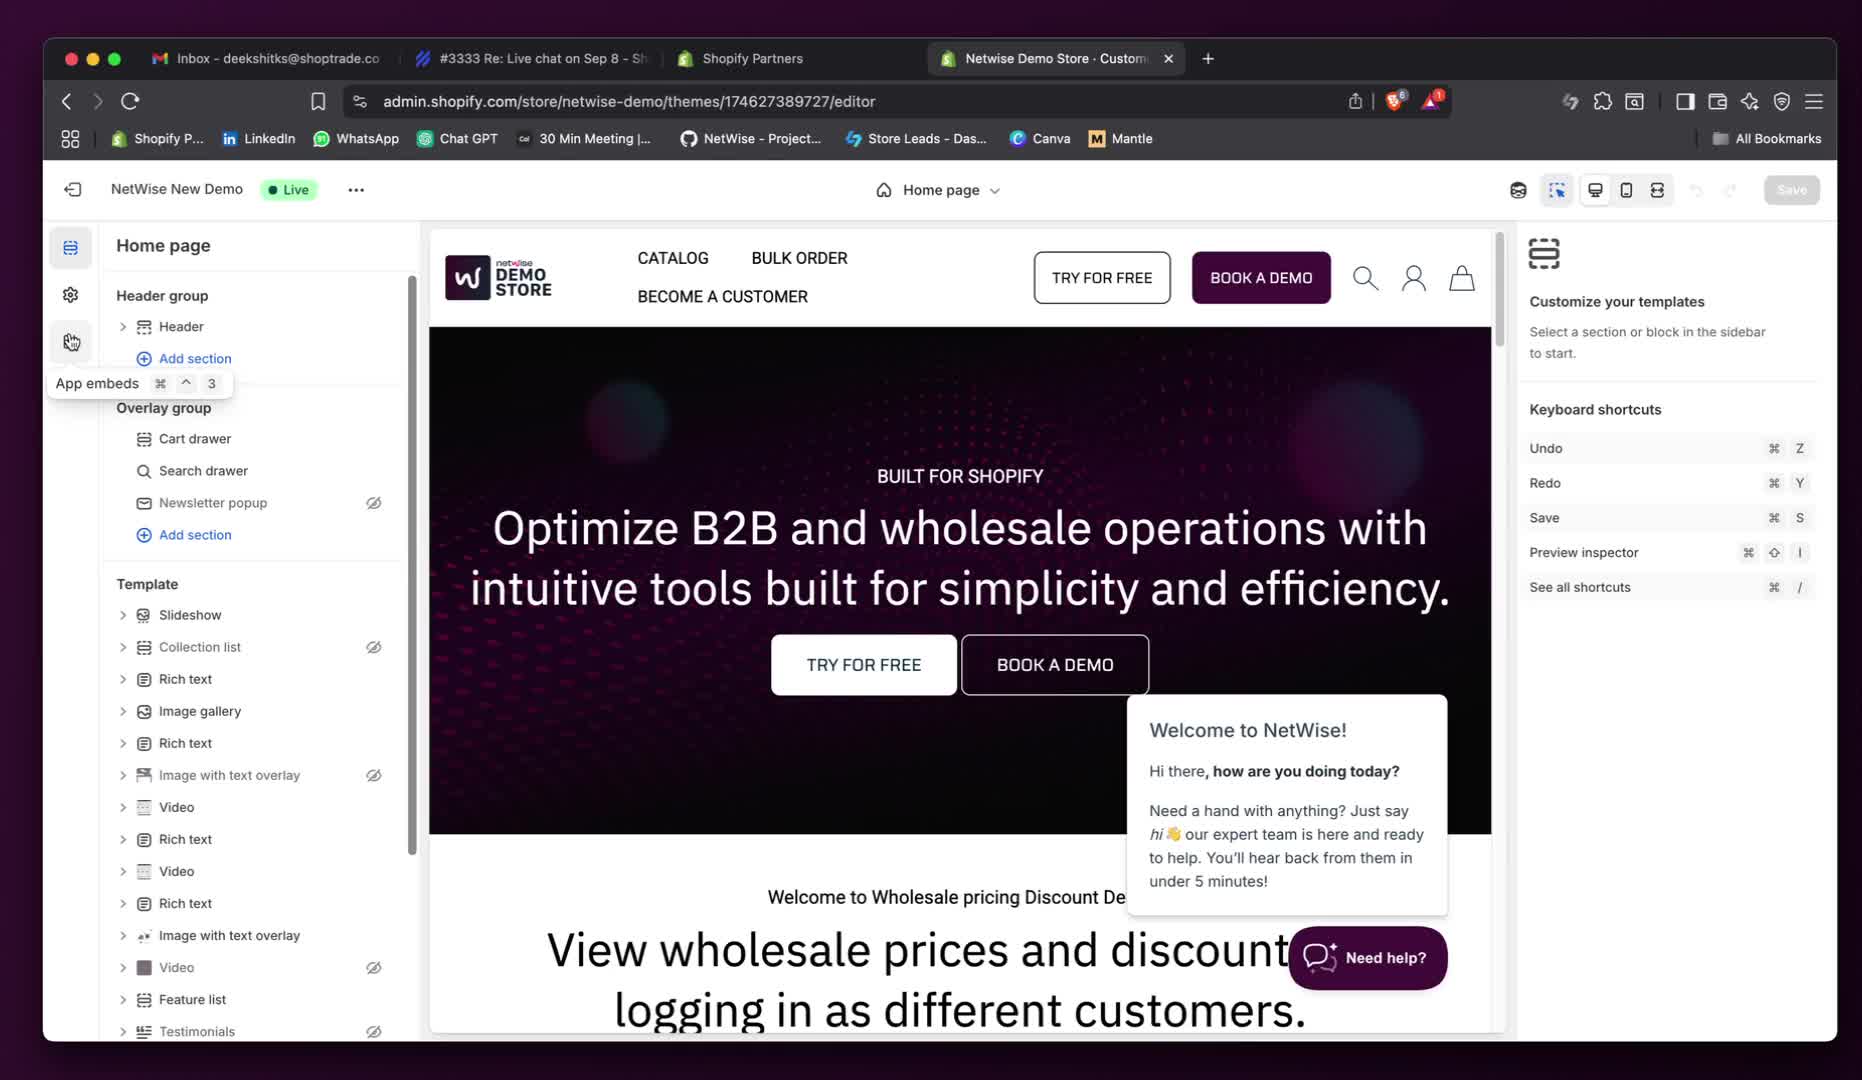
Select 'Customize' on your light theme.
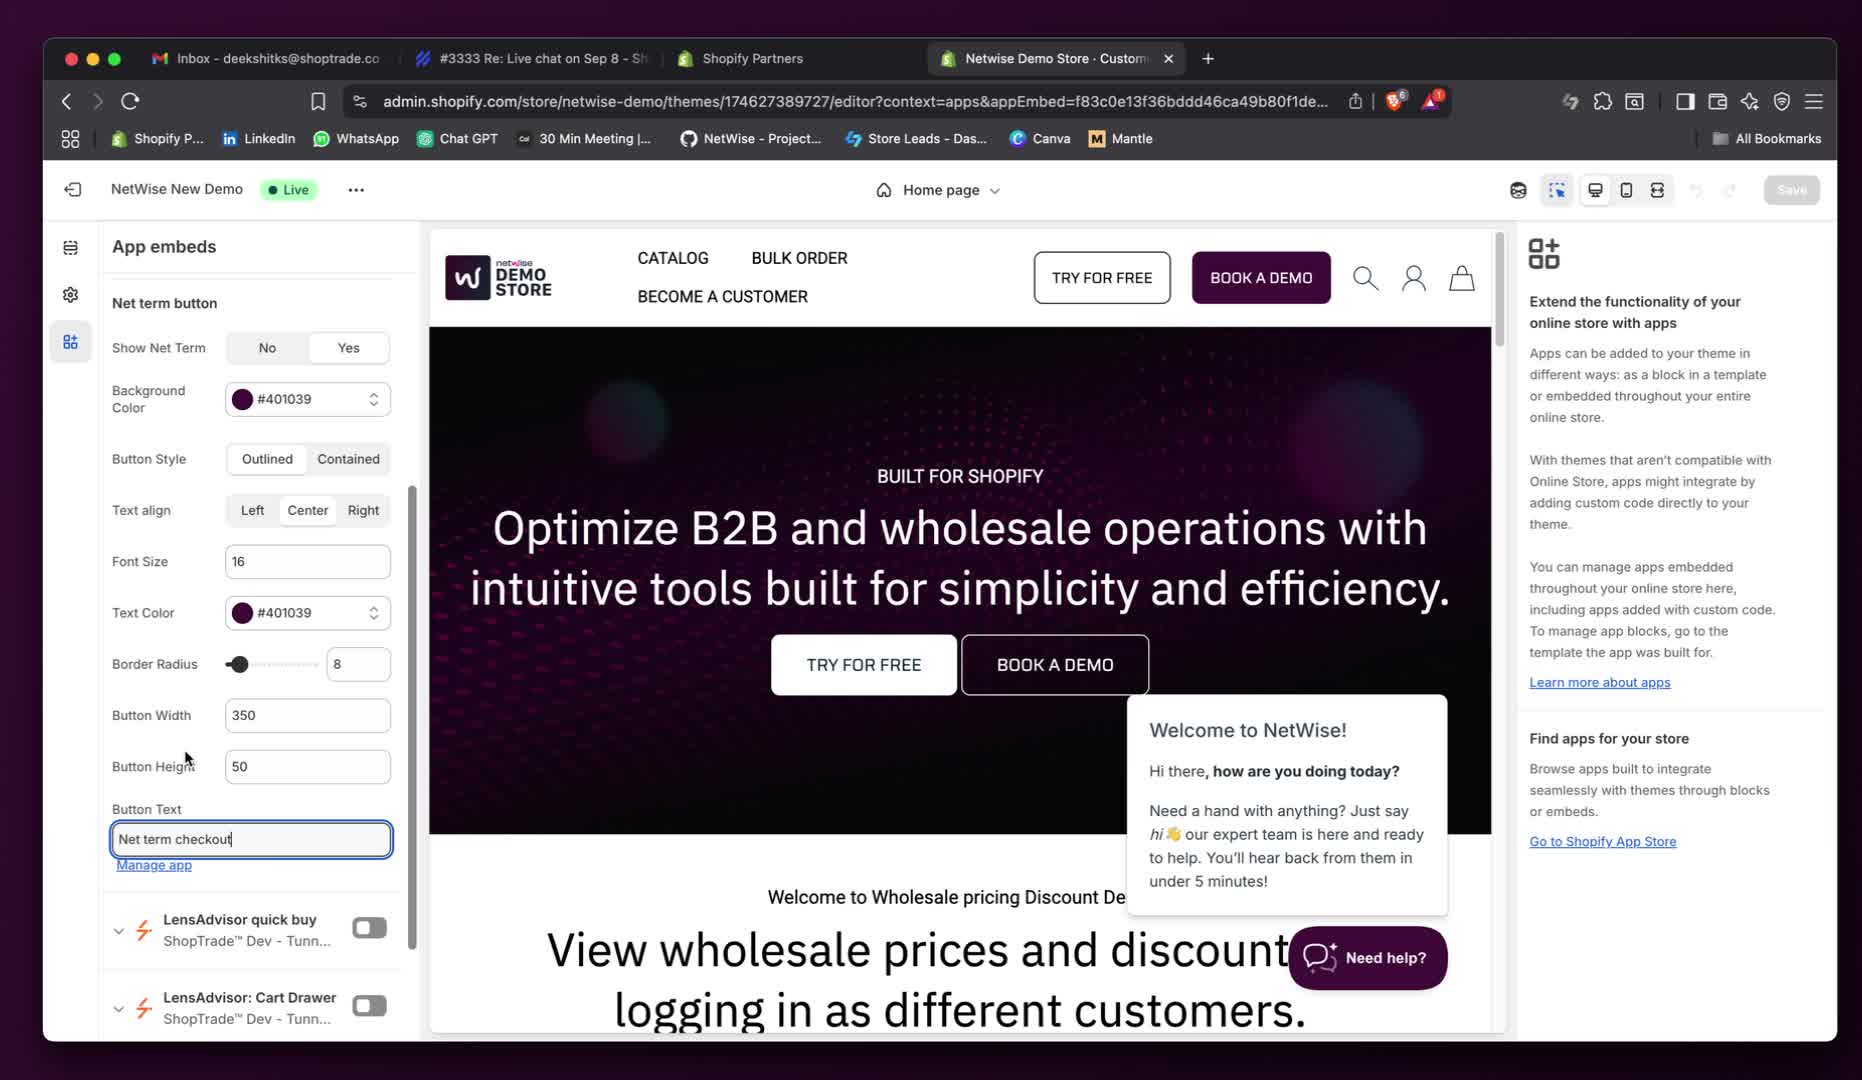
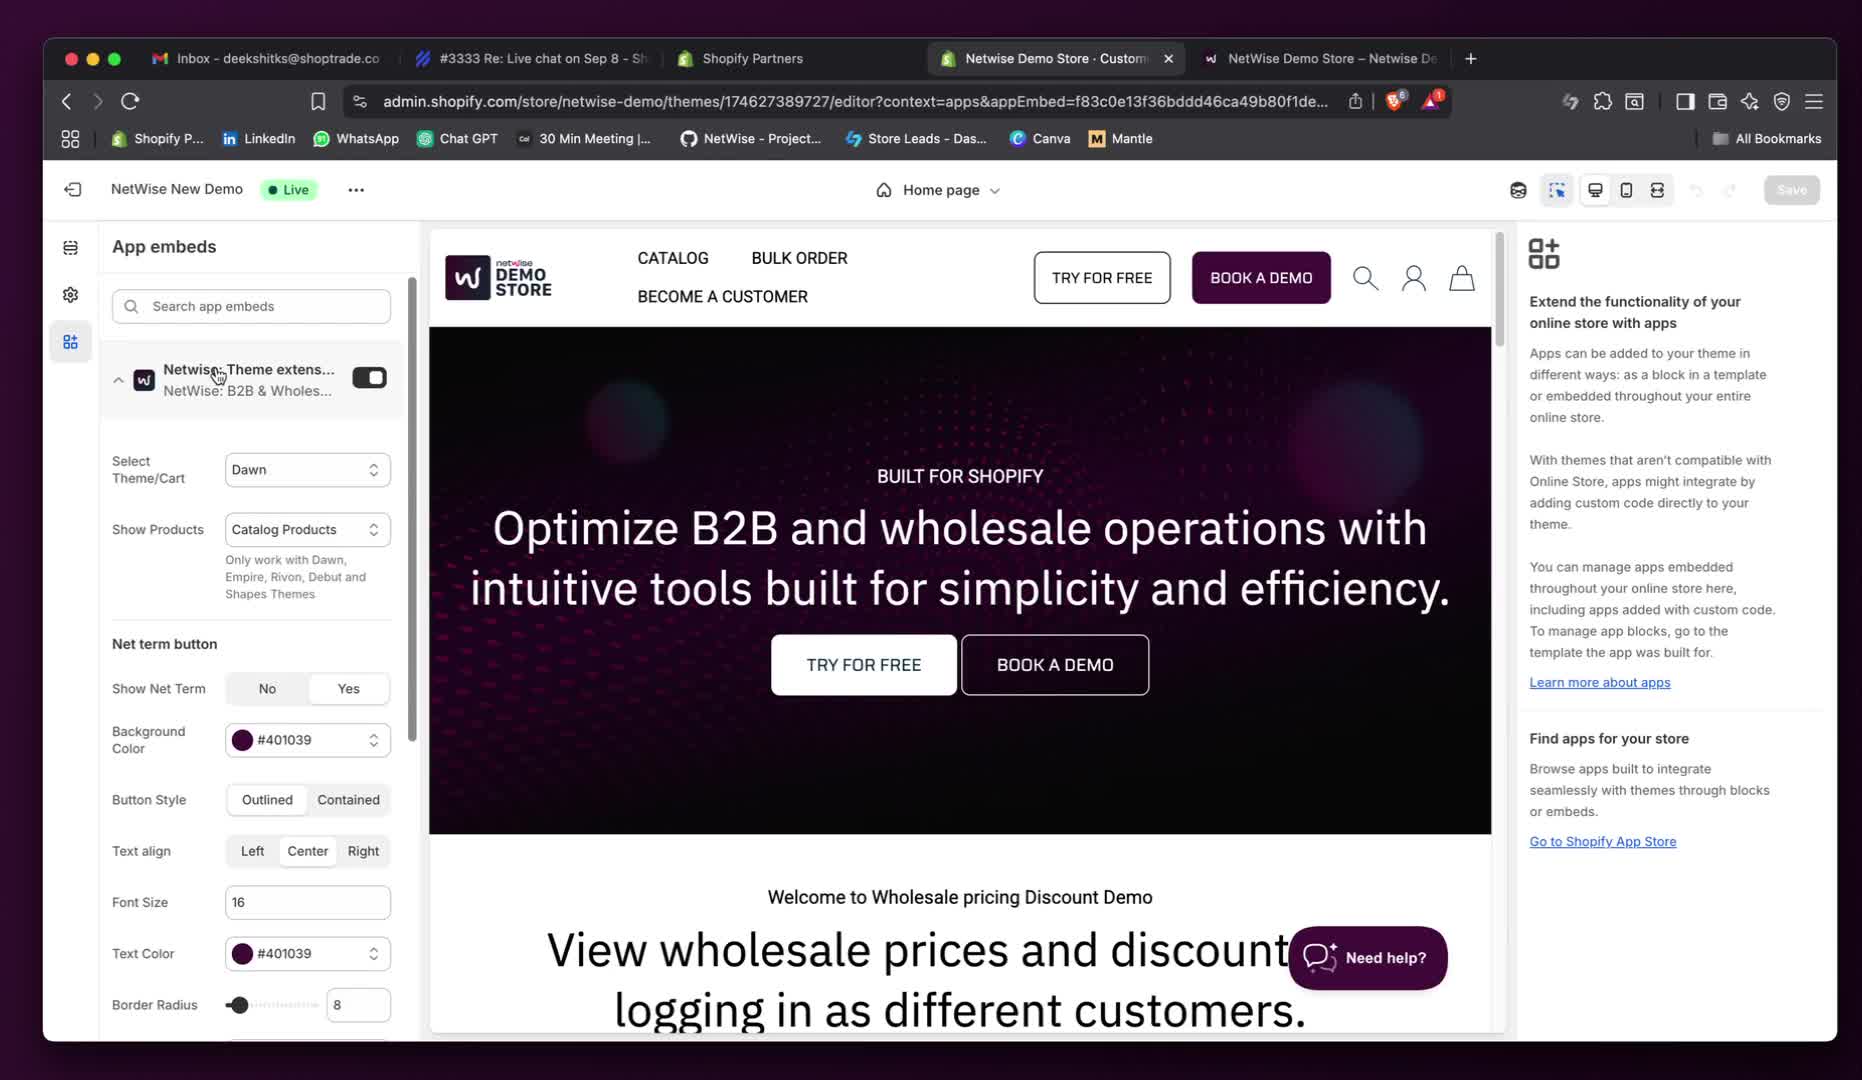
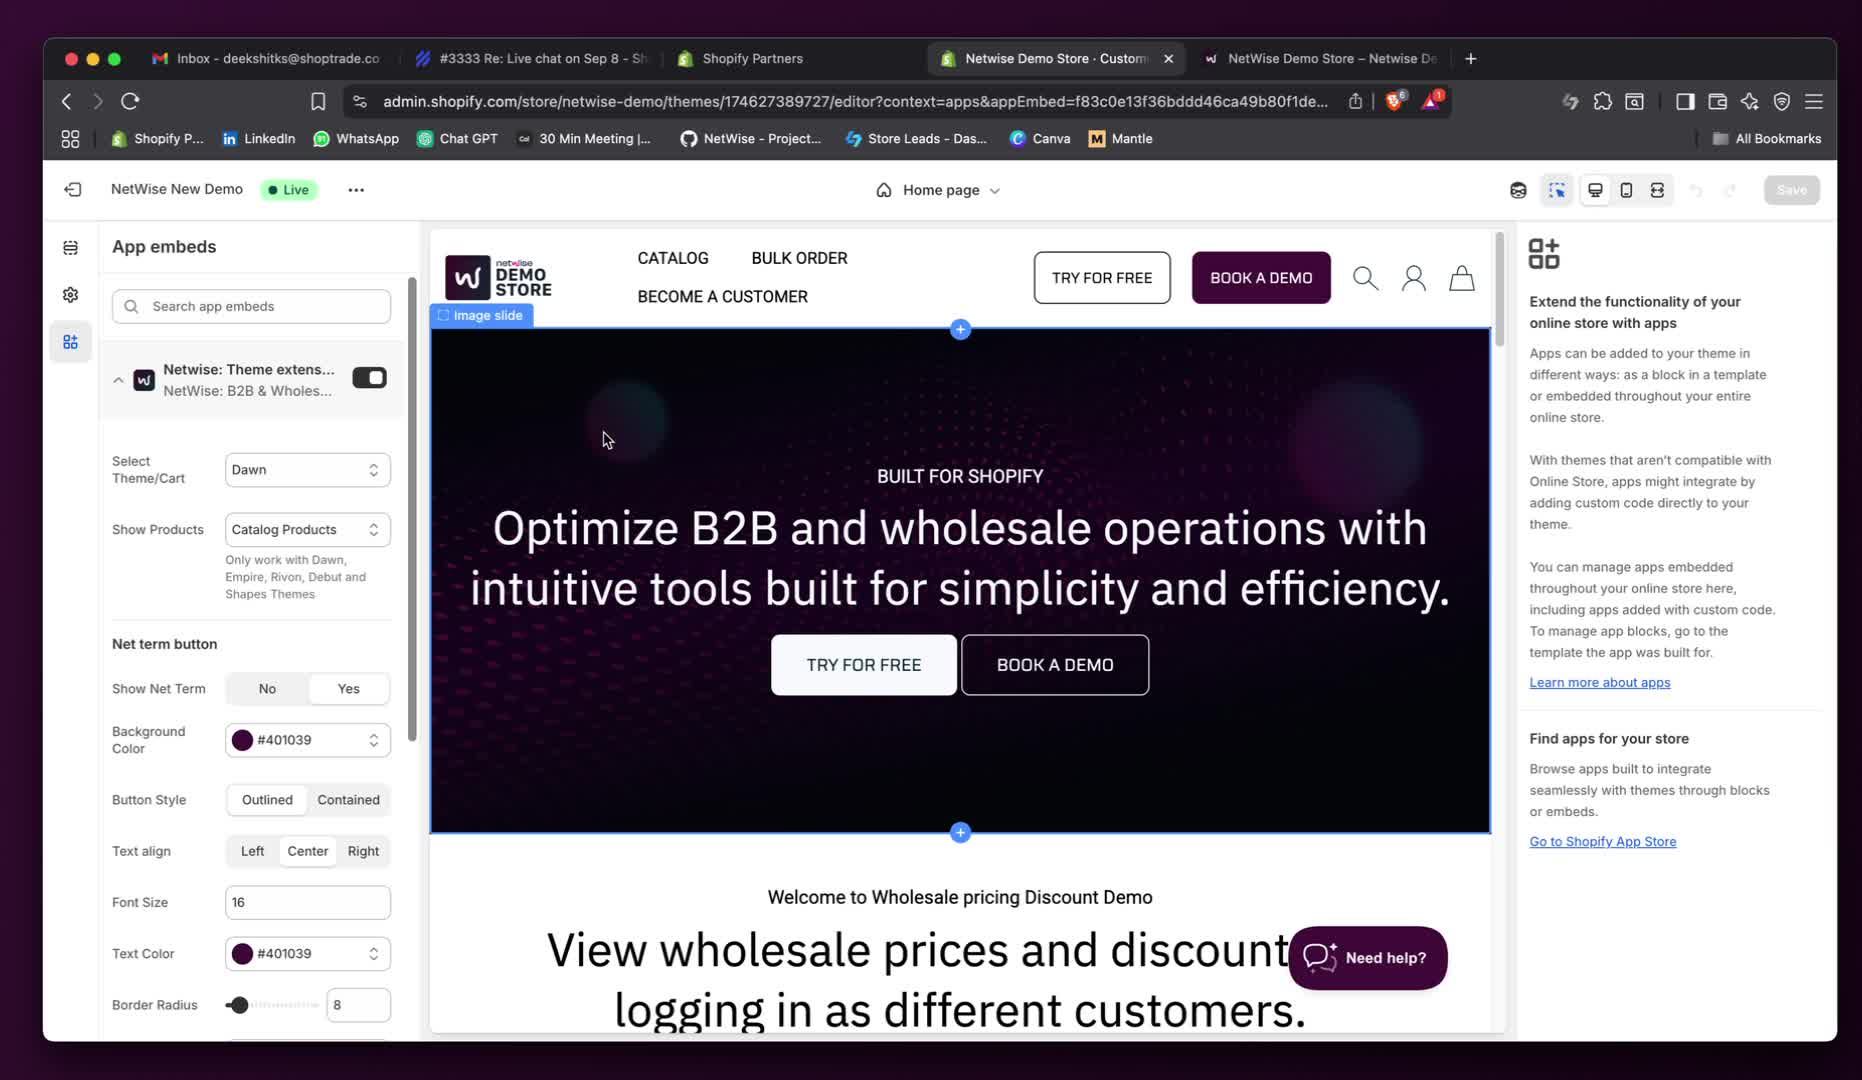
Step 2: Navigate to App Embeds
In the customization menu, look for three options: Sections, Theme Settings, and Apps.
Click on 'App Embeds'.
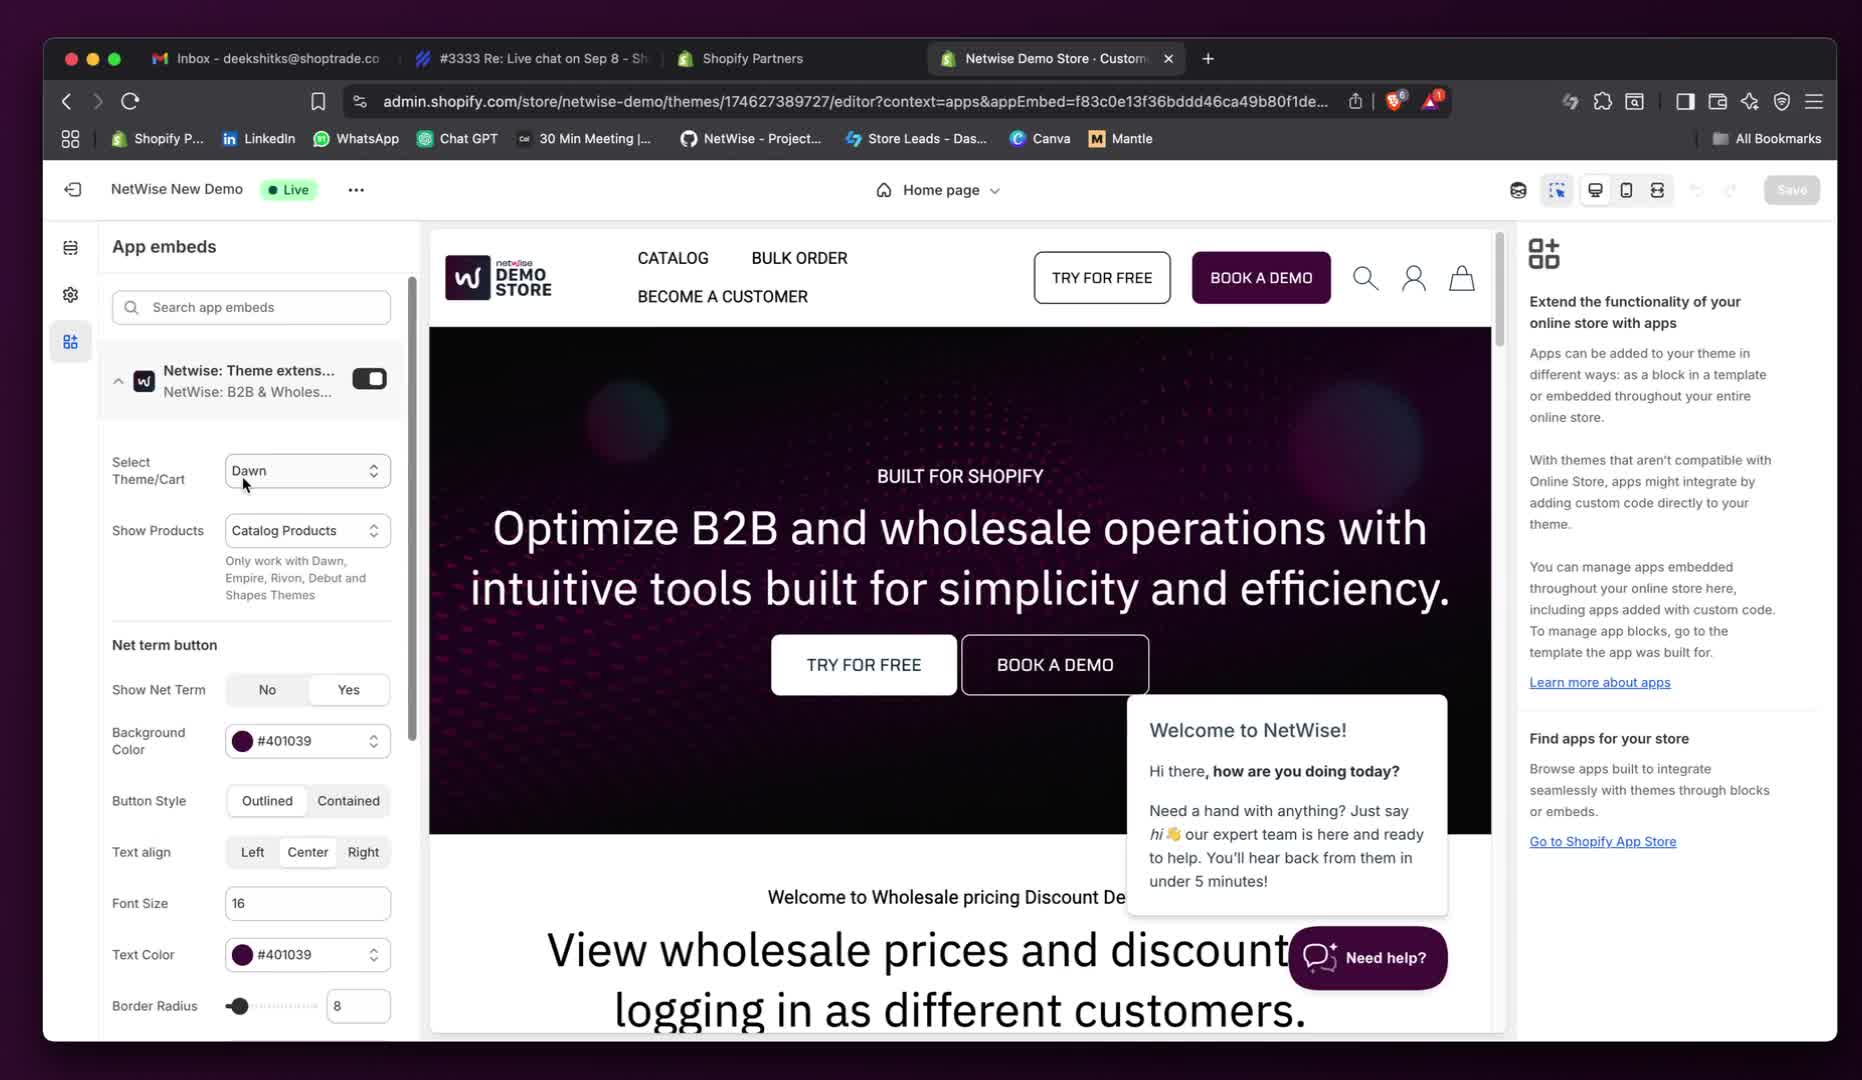
Step 3: Enable Net-Term Extension
Find the Net-Twice theme extension.
Ensure it is enabled.
Click on the arrow to select your theme.
Step 4: Configure Net-Term Settings
Enable the Net-Term button by selecting 'Yes'.
Optionally, set a background color (e.g., white text on a colored background).
Center the text and adjust the font size as needed.
Step 5: Customize Button Text
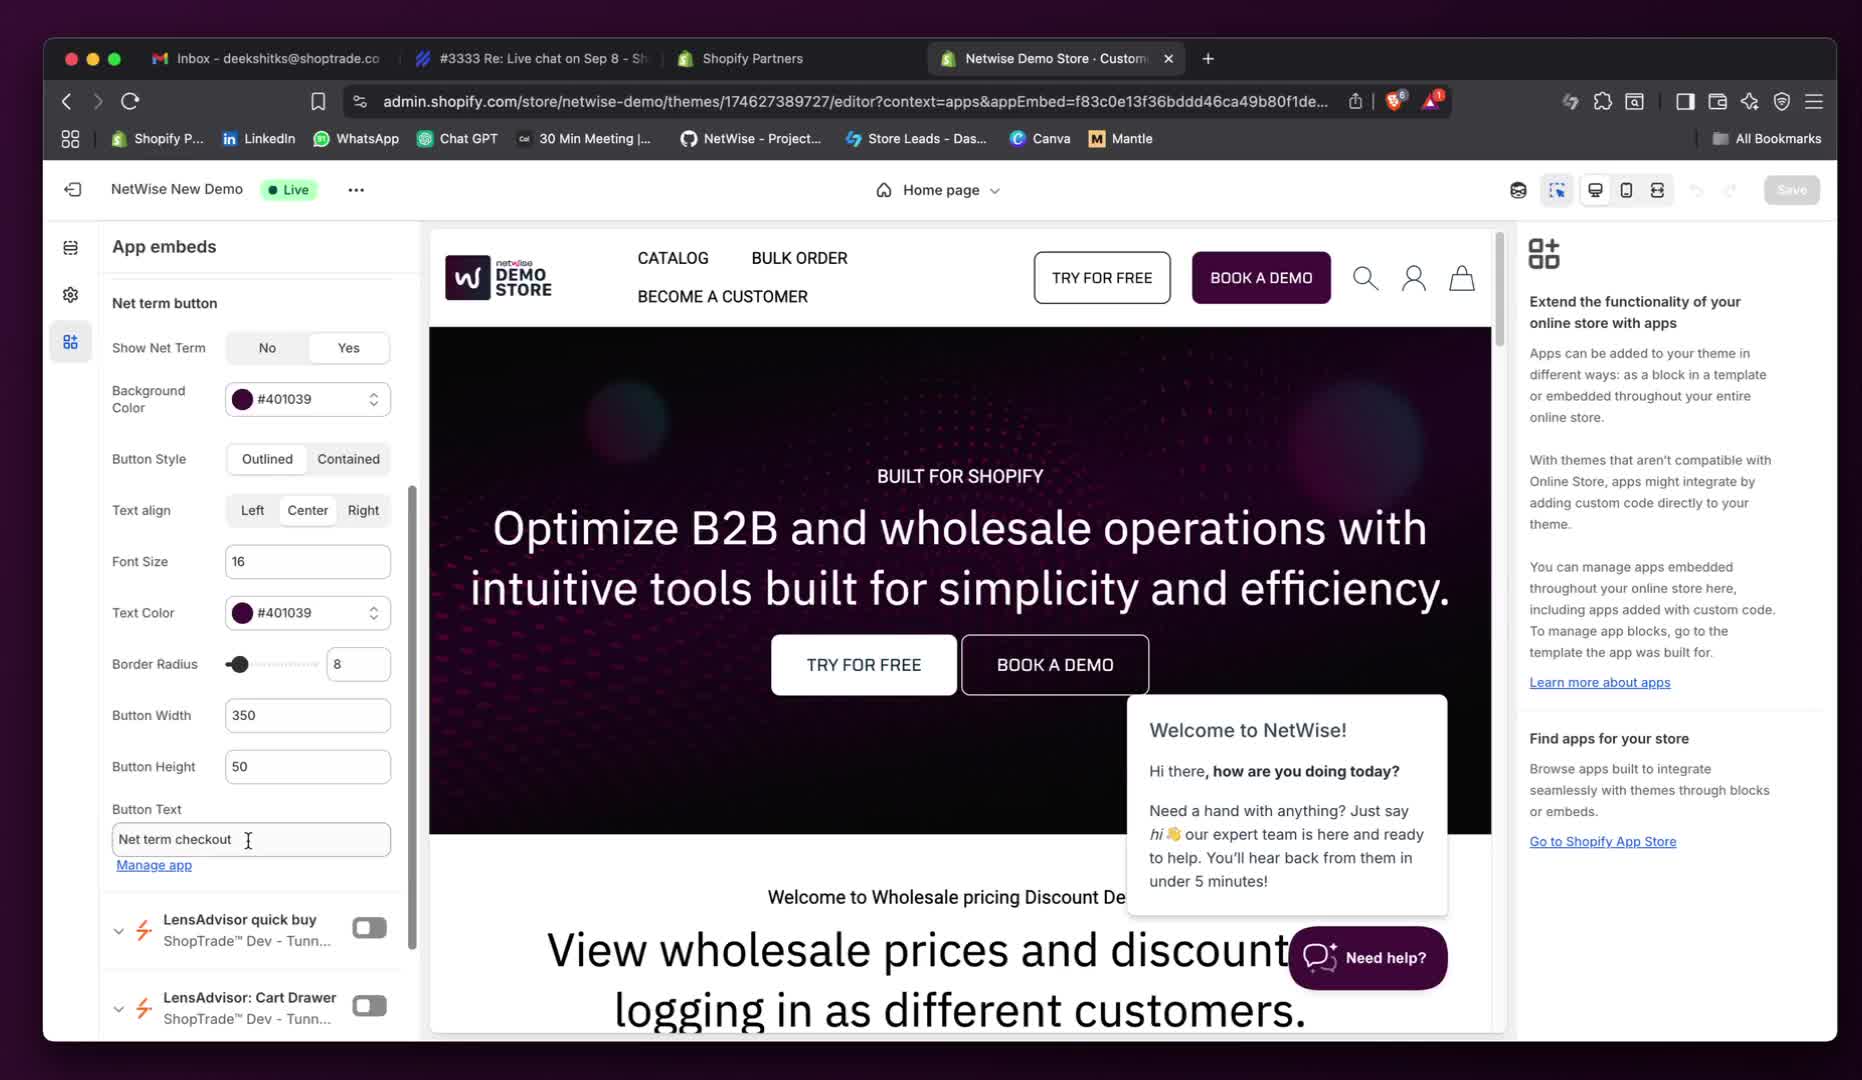
Choose the button text (e.g., 'Pay Later' or 'Net Term Checkout').
For the demo, keep it as 'Net Term Checkout'.
Step 6: Manage Customer Settings
Go back to the app and navigate to the customer section.
View all approved customers.
Step 7: Assign Net-Term to Customers
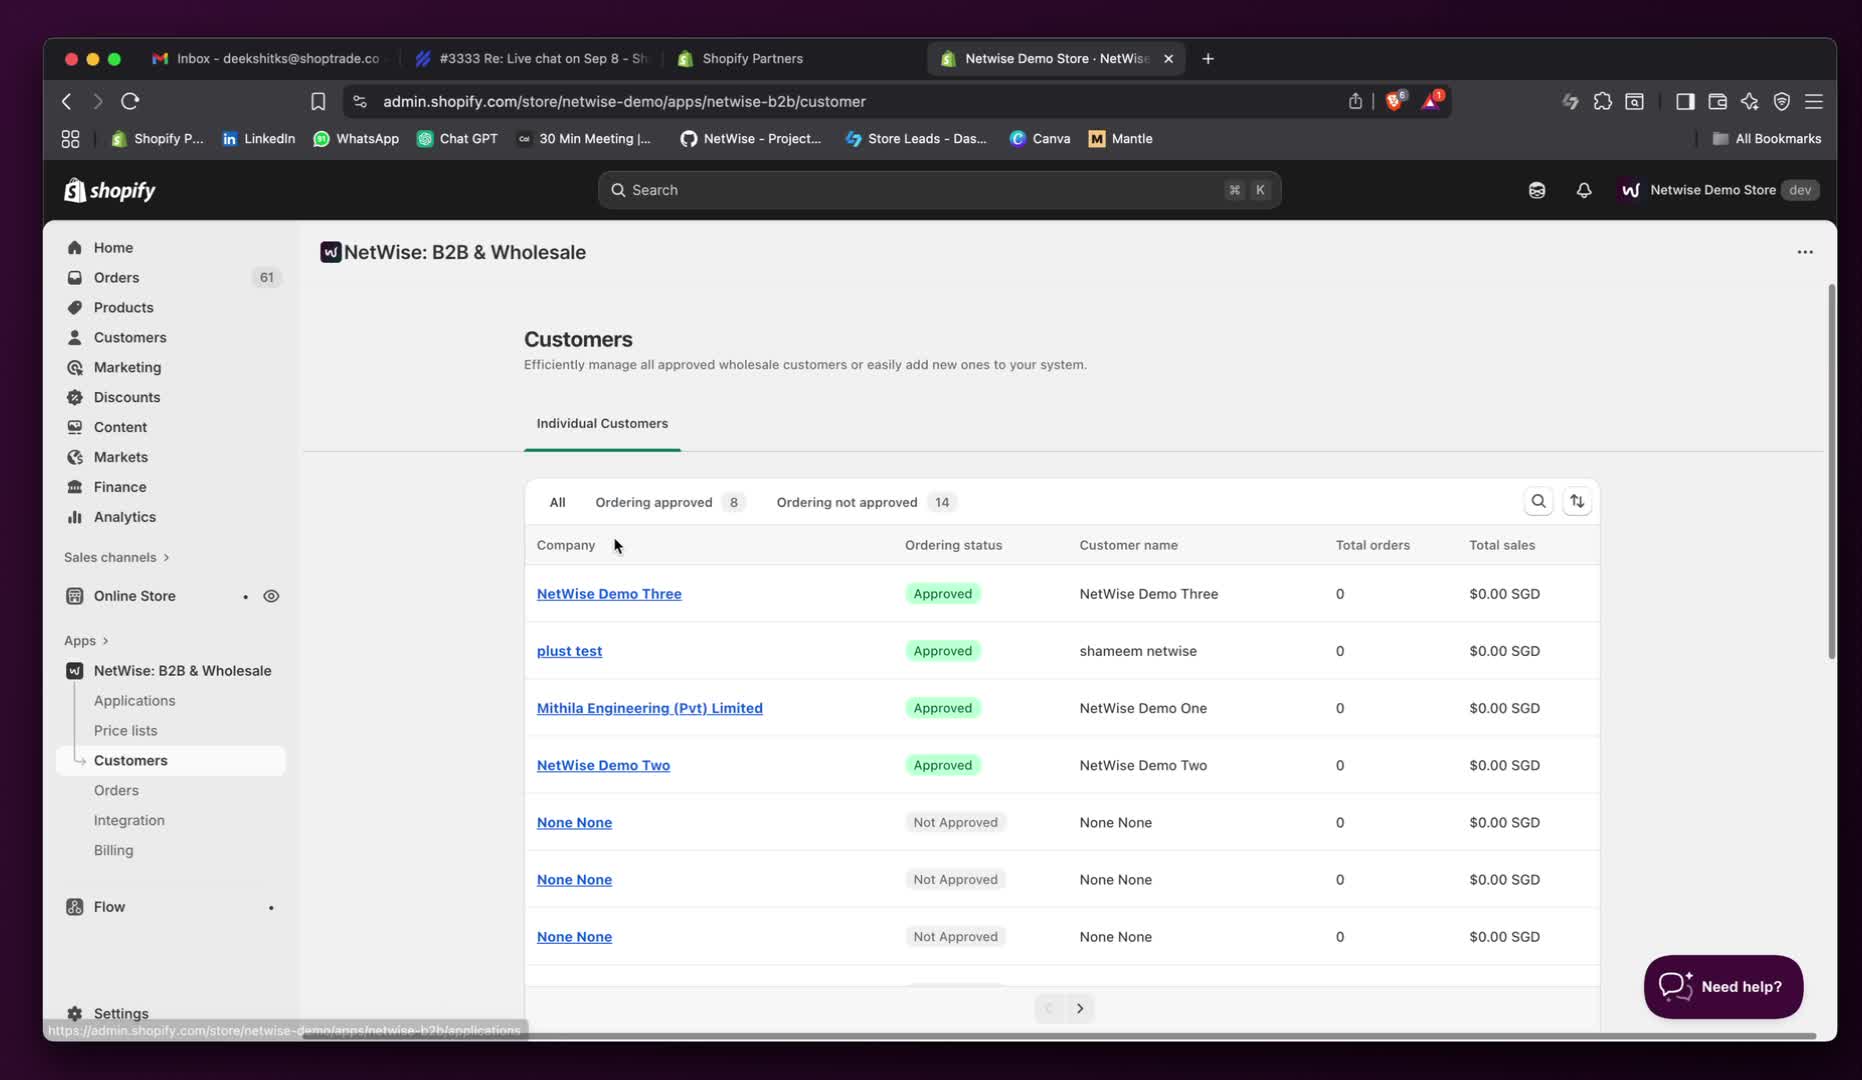
Select a customer to view their settings.
You can enable or disable Net-Term for individual customers.
Step 8: Save Changes
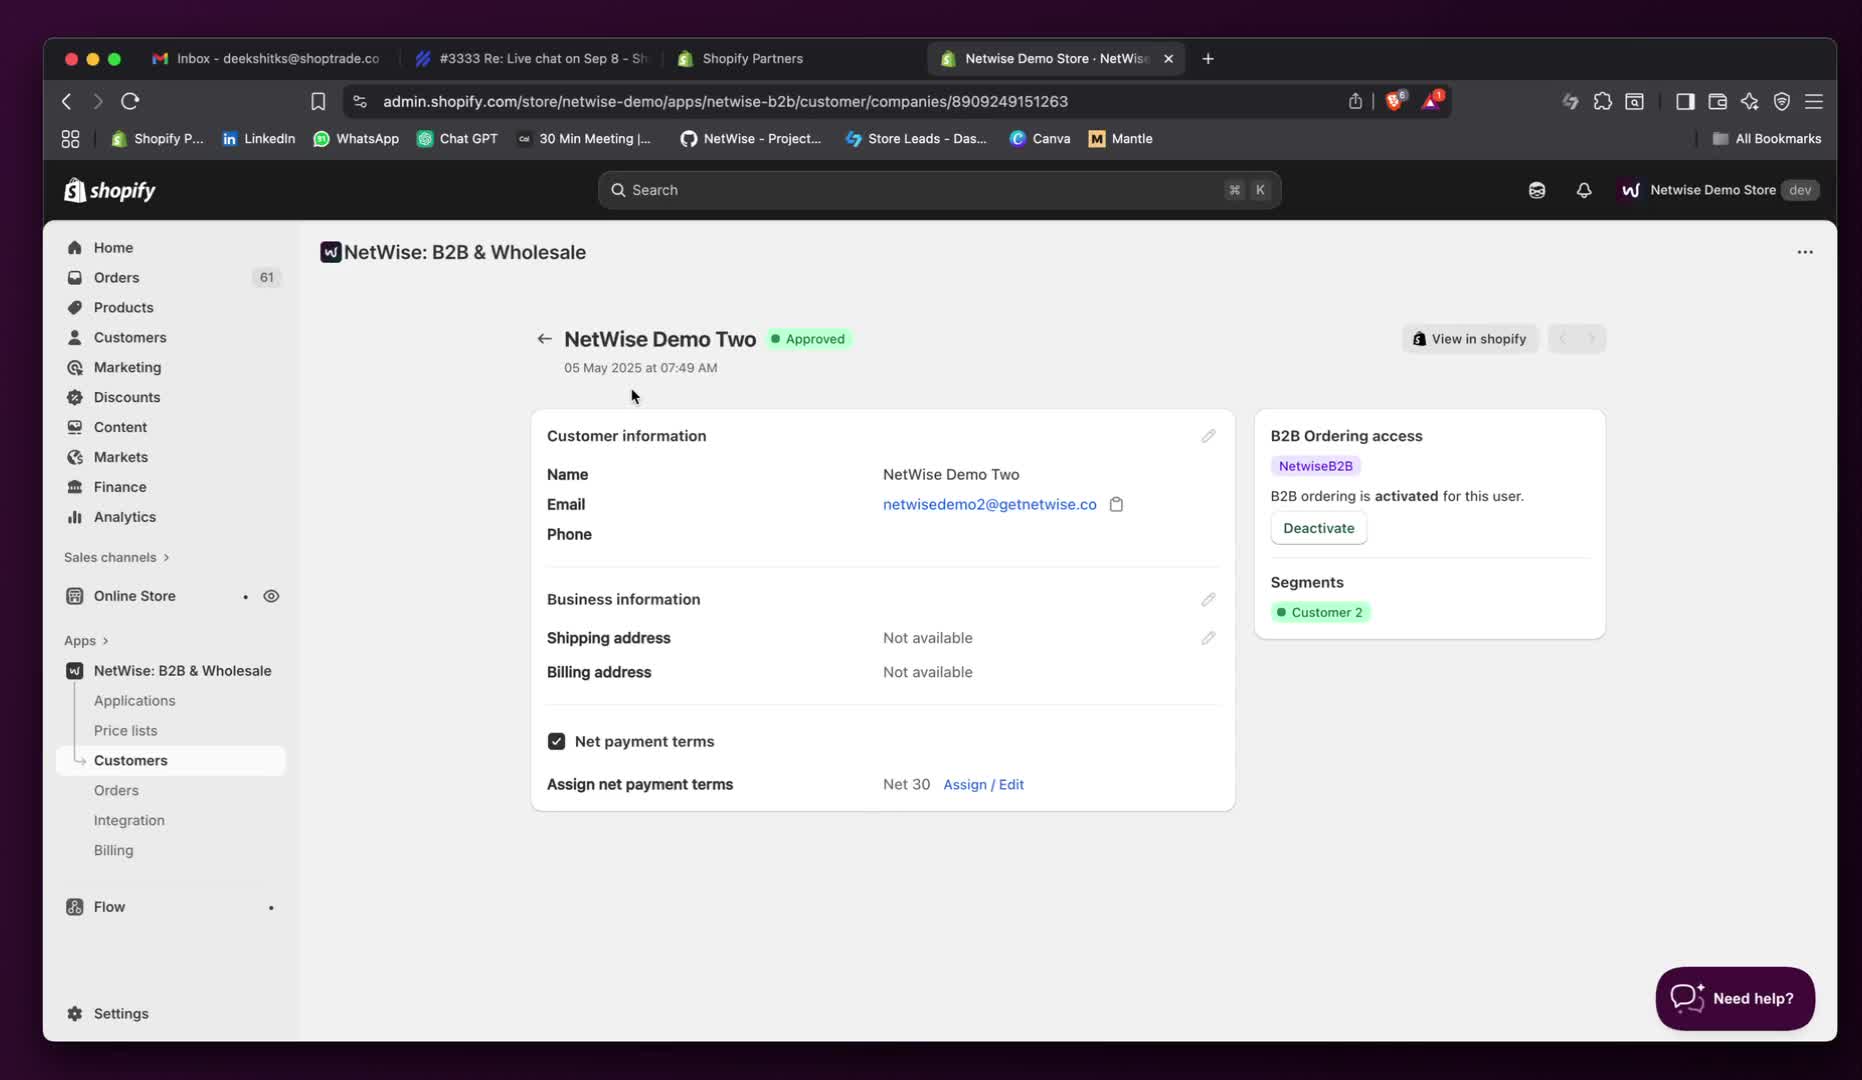
After making adjustments, save your changes.
Step 9: Review Net-Term Visibility
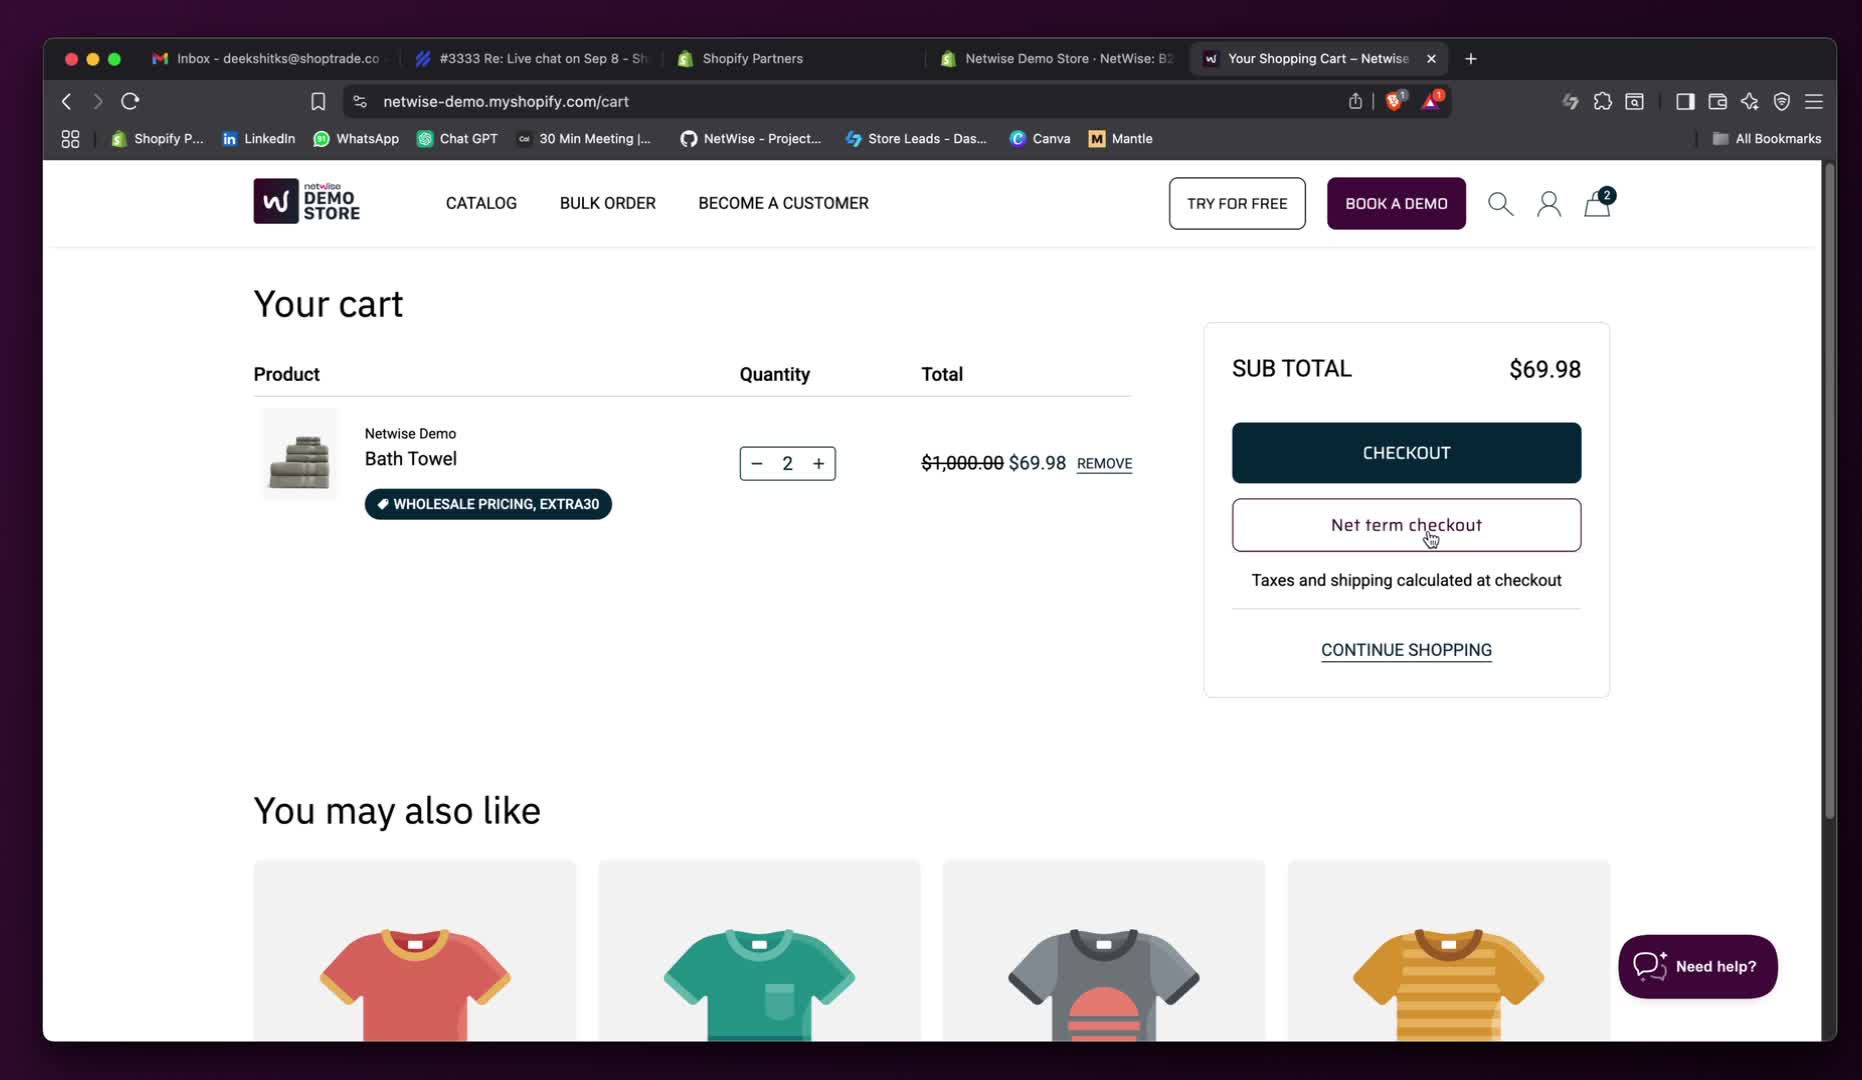
Net-Term will appear in the drawer cart and cart page.
It is only visible to customers who are logged in and assigned to Net-Term.
Step 10: Further Customization
Return to app embeds to make additional adjustments.
The app automatically adapts to your store's CSS.
Step 11: Disable Net-Term if Needed
If you do not want to offer Net-Term, set it to 'No'.
Step 12: Contact for Support
For any questions, reach out via email or the app chat.